
Soft Phulka / Roti Recipe with Tips & Tricks
Main Ingredients
Step-by-Step Instructions
Follow each step to make the recipe successfully.
Prepare the Dough
In a bowl, combine 1 & 1/2 cups of whole wheat flour with salt as per taste. Gradually add 1/2 cup plus 1-2 tablespoons of water, until the dough comes together and is semi-soft.
Rest the Dough
Cover the dough with a cloth and for at least . The video shows resting for .
Re-knead the Dough
After resting for , the dough again for until it becomes nice and smooth.
Prepare for Rolling
Take a small portion (loi) of the dough and roll it into a smooth ball. Lightly dust your rolling surface (chakla) and the dough ball with dry flour.
Roll the Roti
Gently roll the roti, ensuring the sides are thinner compared to the center. Do not apply too much pressure. The video demonstrates using a tapering rolling pin for best results.
Cook on Tawa - First Side
Place the rolled roti on a hot iron tawa (griddle) over high flame. Let it cook for on one side until small bubbles appear.
Cook on Tawa - Second Side
Flip the roti and let the bottom side cook completely until light brown spots appear.
Even Cooking (Edges)
Using a cotton cloth, gently press the sides of the roti on the tawa to ensure the edges are cooked evenly and do not remain raw.
Puff the Roti (Direct Flame Method)
Lower the flame, lift the roti from the tawa, and place it directly onto the burner. Immediately increase the flame to high. The roti will puff up completely.
Apply Ghee (Optional)
Once puffed, remove the roti from the flame. If desired, apply ghee to one side. Keep rotis in pairs and apply ghee as you make them.
Puff the Roti (Tawa Method - Alternative)
For an alternative puffing method, after cooking both sides on the tawa, use a cotton cloth to press the roti gently on the tawa. Flip and press again. The roti will puff up on the tawa itself without direct flame.
Store Rotis
Keep the cooked rotis covered in a cotton cloth inside a hot pot (roti ka dabba) to maintain their softness and prevent them from becoming soggy due to .
Before You Cook
Helpful details before you startIngredient SubstitutionsMissing something? View suitable alternatives.View 1 swap
No Ghee?
- Unsalted butter (1:1)
- Neutral oil (1:1, lacks the toasted note)
Variations
Simple ways to adapt this recipe.
- Applying ghee is optional
- Roti can be puffed directly
Roti can be puffed directly on the burner or on the tawa using a cloth.
Helpful Tips
Small details that can improve the final result.
More from The Terrace Kitchen
Other recipes converted from The Terrace Kitchen's cooking videos.
You might also like
Other recipes in the same cuisine, meal type, or style — ready to cook whenever you are.
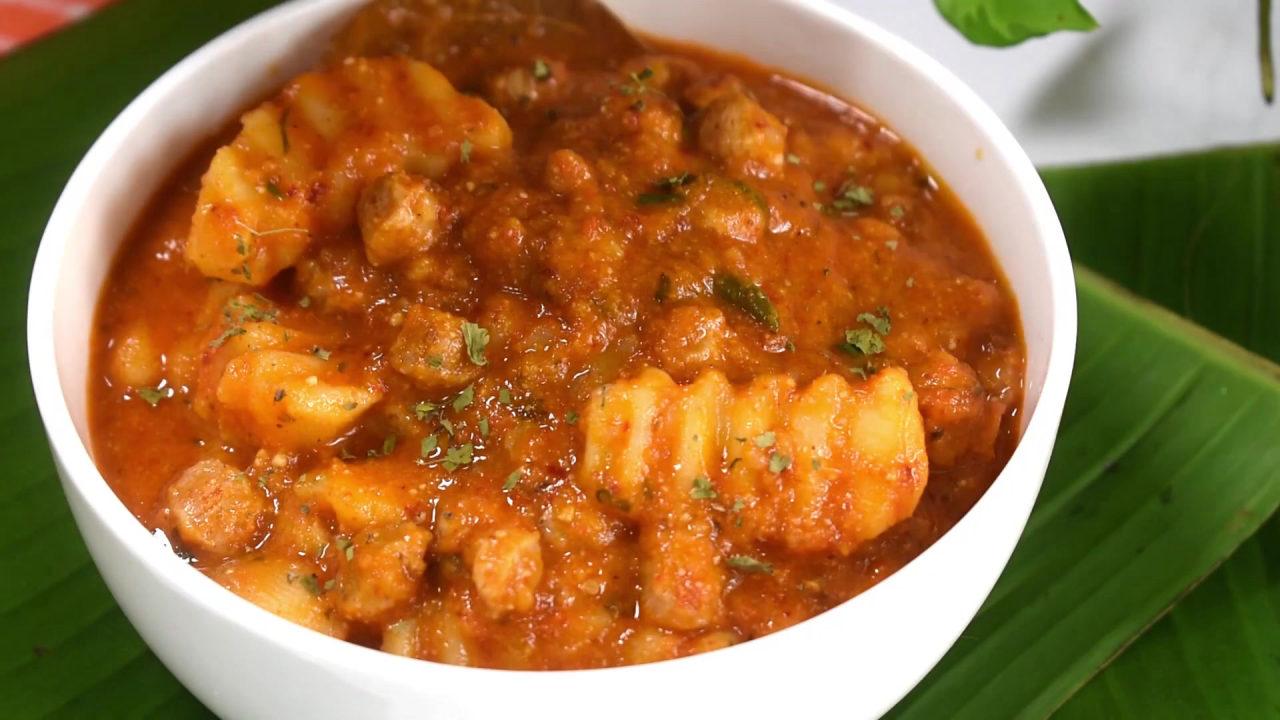
Meal Maker Gravy (Soya Chunks Masala)
Cuisine
Indian · North Indian
Prep + Cook Time
45 Minutes
Difficulty Level
Easy
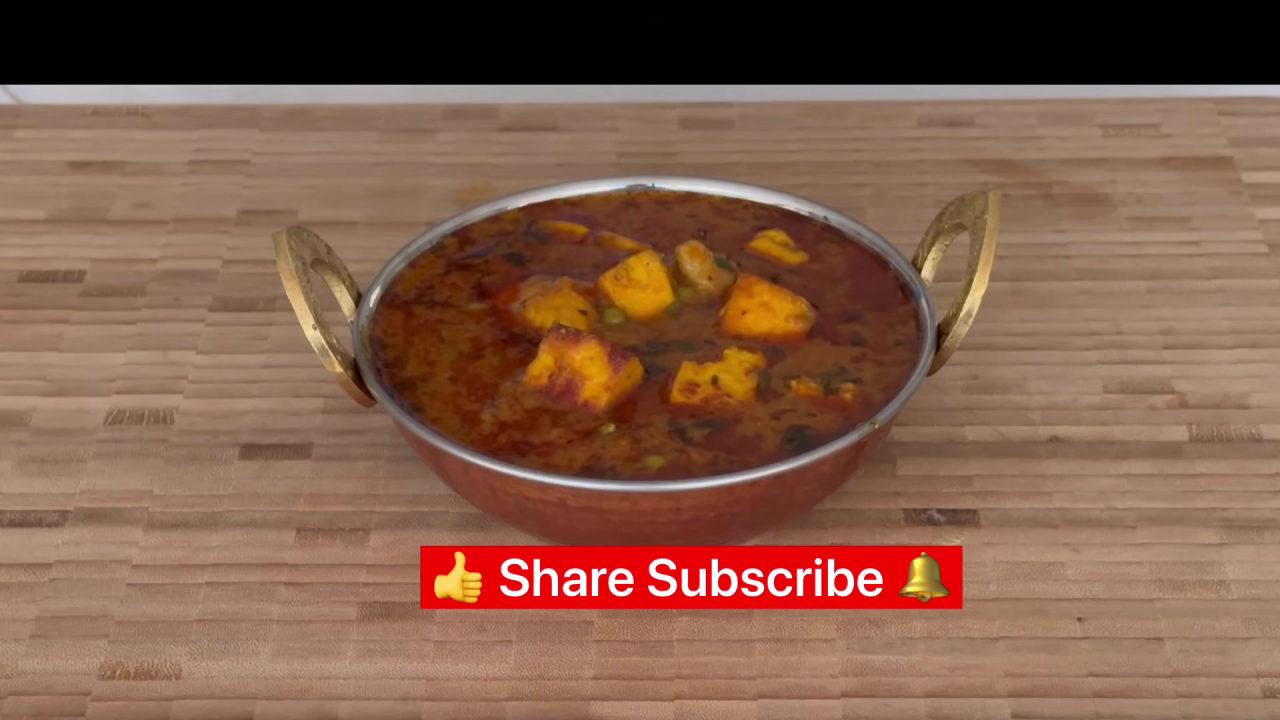
Tari Wala Paneer (Paneer Gravy)
Cuisine
Indian · North Indian
Prep + Cook Time
55 Minutes
Difficulty Level
Medium
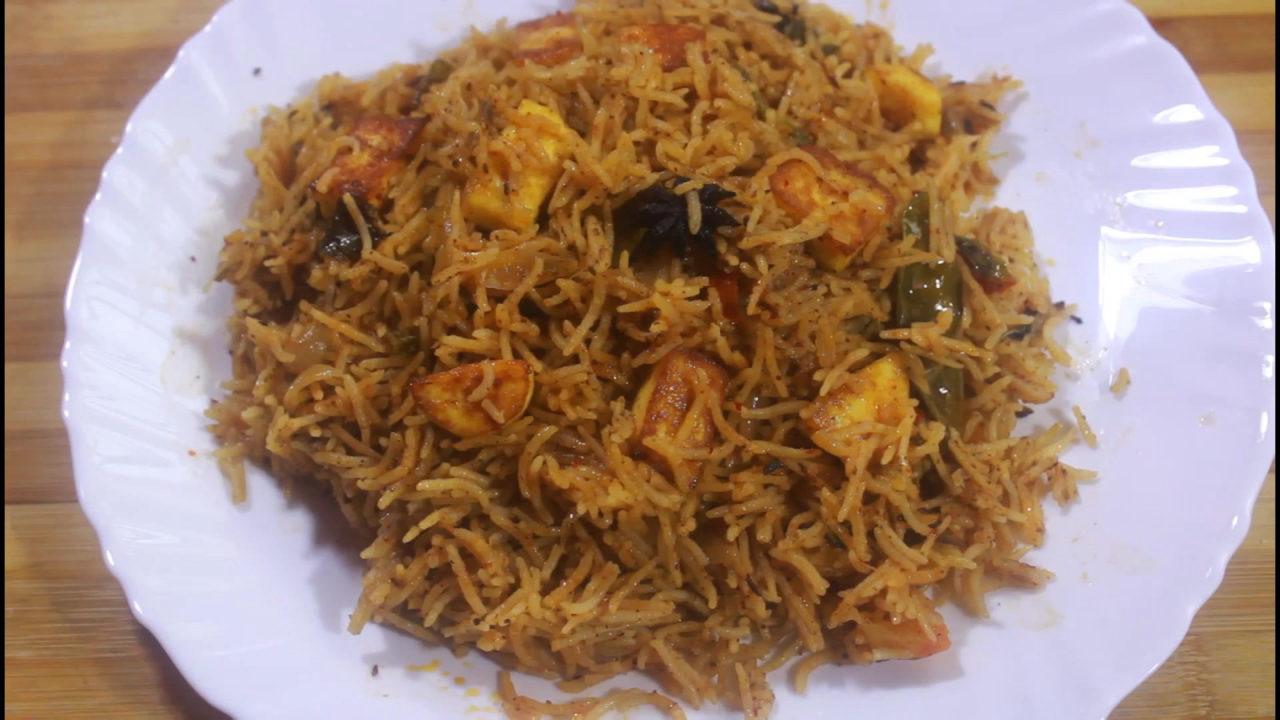
Paneer Biryani in Pressure Cooker
Cuisine
Indian · North Indian
Prep + Cook Time
1 hr 5 min
Difficulty Level
Medium
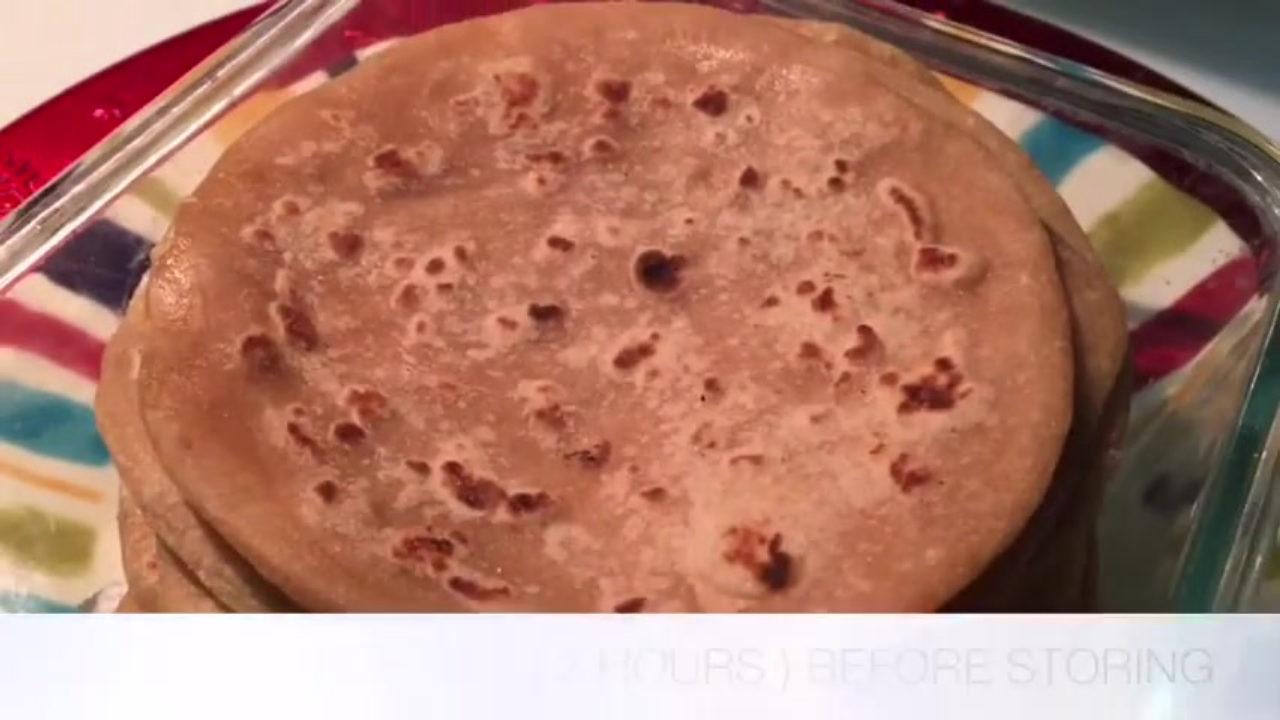
Whole Wheat Flour Tortilla
Cuisine
Indian · North Indian
Prep + Cook Time
2 hr
Difficulty Level
Easy
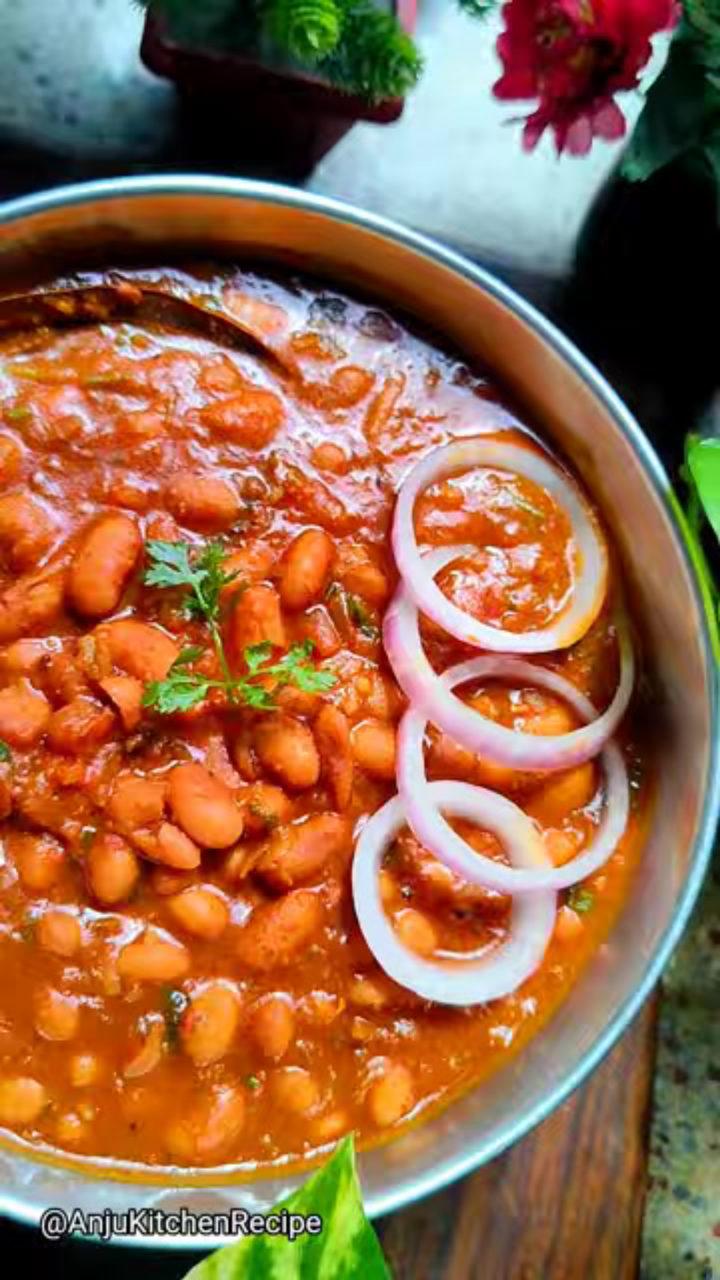
Rajma Masala - Dhaba Style
Cuisine
Indian · North Indian
Prep + Cook Time
45 Minutes
Difficulty Level
Medium
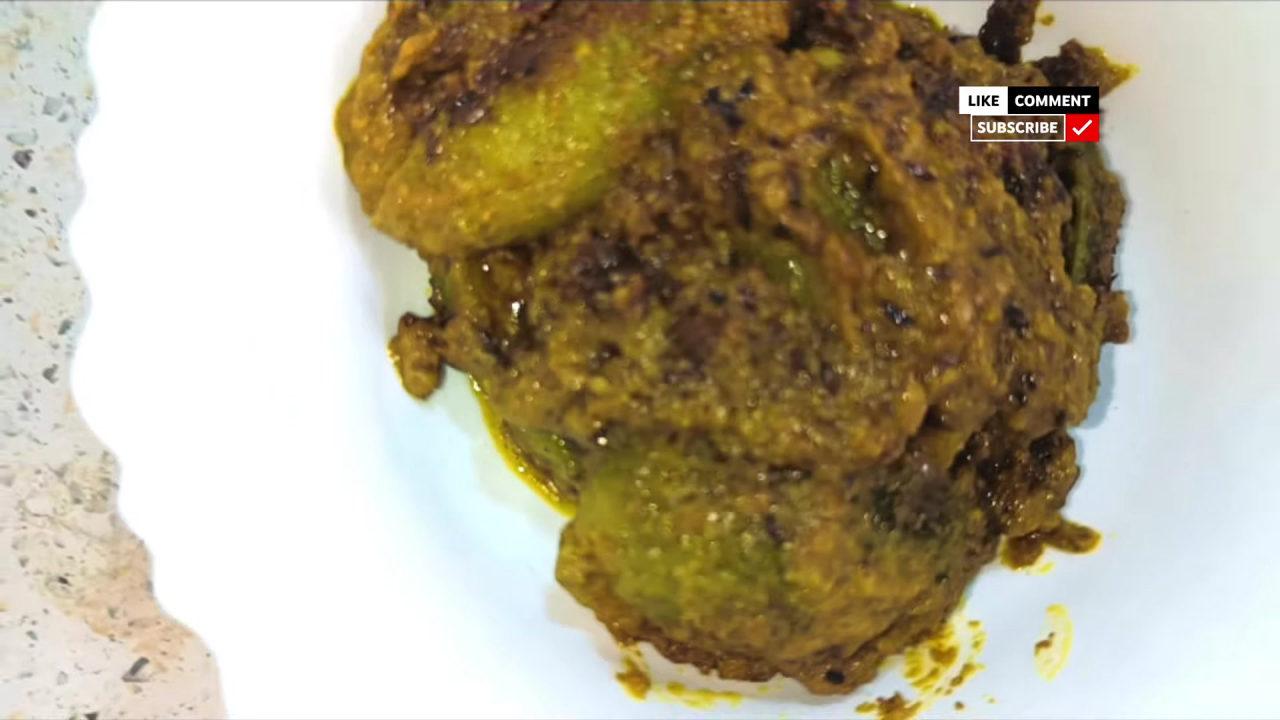
Stuffed Kantola (Spiny Gourd) Sabzi – Delicious Indian Curry
Cuisine
Indian · North Indian
Prep + Cook Time
40 Minutes
Difficulty Level
Comments (0)
Sign in to leave a comment on this recipe.
Loading comments...