
Soft and Tasty Rotis
Main Ingredients
Step-by-Step Instructions
Follow each step to make the recipe successfully.
Prepare the Dough
In a mixing bowl, add 3 cups (375g) of all-purpose wheat flour, 1 teaspoon of salt, 3 tablespoons of vegetable oil, and 3 tablespoons of melted salted butter. Gradually add 400ml of boiling hot water, mixing with a spoon to combine the ingredients, as the mixture will be very hot.
Knead the Dough
Once the mixture is cool enough to handle, the dough in the bowl for at least until it forms a soft, non-sticky ball. If the dough is too sticky, add a little dry flour and continue until it reaches the perfect consistency.
Divide and Shape the Dough
Place the dough onto a workbench. Divide the dough into two equal pieces. Roll out each piece into a long cylinder. Then, cut each cylinder into 6 equal pieces, creating 12 dough portions in total.
Form Dough Disks
Take each cut dough piece and form it into a round disk by gently twisting and pressing it down. Arrange the formed disks on the workbench and keep them covered with a cloth to prevent them from drying out.
Roll Out the Rotis
Lightly dust your workbench with dry flour. Take one dough disk, dust it lightly with dry flour on both sides, and gently flatten it with your fingers. Using a rolling pin, roll out the disk into a thin, round roti. Ensure to dust the rolling pin with flour if it starts to stick, rather than adding too much flour to the roti itself.
Toast the Rotis
Heat a flat pan on medium heat. Once the pan is hot, place the first rolled roti onto it. Allow it to until bubbles start to appear on top and the roti begins to rise slightly. Once bubbles appear, flip the roti over.
Apply Butter and Finish Cooking
After flipping, brush melted salted butter generously over the cooked side of the roti. Flip it again and brush butter on the other side. You will notice the roti puffing up beautifully. Flip it one more time and cook for about until golden brown spots appear on both sides. Remove the cooked roti and place it on a plate. Repeat this process for all remaining rotis.
Serve and Enjoy
Once all the rotis are cooked, stack them on a plate. The rotis should be soft and flaky. Serve them warm with your favorite curries or dishes.
Before You Cook
Helpful details before you startIngredient SubstitutionsMissing something? View suitable alternatives.View 1 swap
No Butter?
- 3/4 the amount of olive oil (for cooking, not baking)
- Equal parts ghee — Slightly nuttier flavor.
- Equal parts coconut oil (in baking)
Helpful Tips
Small details that can improve the final result.
More from Saleem's Kitchen
Other recipes converted from Saleem's Kitchen's cooking videos.
You might also like
Other recipes in the same cuisine, meal type, or style — ready to cook whenever you are.

Thakkali Satham (Tomato Rice) – Kongu Style
Cuisine
Indian · South Indian
Prep + Cook Time
35 Minutes
Difficulty Level
Easy
Thakkali Satham (Tomato Rice) – Kongu Style
Cuisine
Indian · South Indian
Prep + Cook Time
30 Minutes
Difficulty Level
Easy
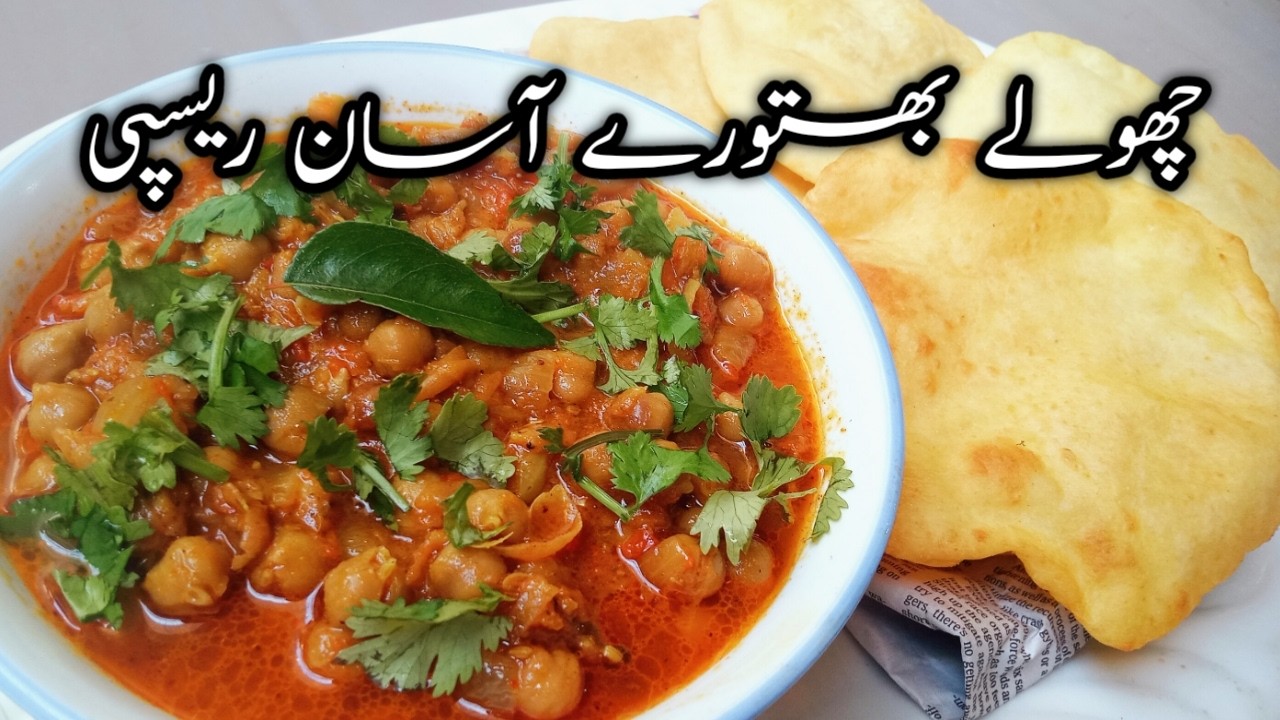
Chhole Bhature - Easy Recipe
Cuisine
Indian · North Indian
Prep + Cook Time
2 hr 40 min
Difficulty Level
Medium

Paneer Do Pyaza - Restaurant Style
Cuisine
Indian · North Indian
Prep + Cook Time
55 Minutes
Difficulty Level
Medium
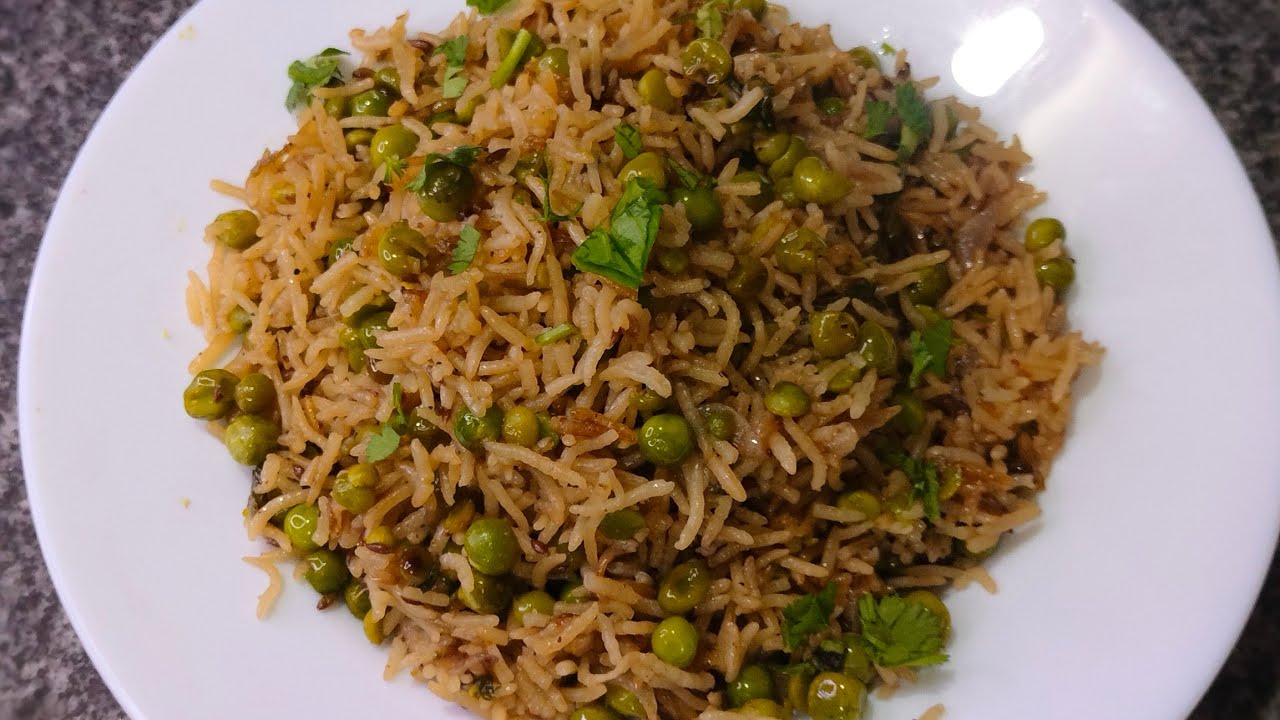
Matar Pulao - Simple and Tasty
Cuisine
Indian · North Indian
Prep + Cook Time
30 Minutes
Difficulty Level
Easy

Capsicum Sabji – Indian Style
Cuisine
Indian · North Indian
Prep + Cook Time
45 Minutes
Difficulty Level
Comments (0)
Sign in to leave a comment on this recipe.
Loading comments...