Rotisserie Chicken – Simple & Juicy
All Ingredients - Main Ingredients
- Whole chicken 1 (4-6 lbs)
- Yellow mustard as needed
- Poultry seasoning as needed
All Ingredients - For Drip Pan
- Water 0.5 inch (in drip pan)
- Seasoning as needed
- Cut-up veggies as needed (e.g., red onion)
Step-by-Step Instructions
Step 1: Prepare the Chicken
Thaw the whole chicken. Thoroughly clean out the cavity, removing giblets, neck, and any other contents. Drain any excess moisture from the chicken. Pat the chicken dry with a paper towel. Cut off any loose skin or ends hanging off the front or back of the bird.
Step 2: Mount on Rotisserie Rod
Carefully slide the chicken onto the rotisserie rod, ensuring it is somewhat centered. Secure the rotisserie forks tightly, using pliers if needed for small thumb screws, but do not over-crank.
Step 3: Truss the Chicken
Wrap cooking twine around anything that hangs off the body, such as legs and wings, to keep everything close and tight. Cut off any excess ends of the twine.
Step 4: Apply Binder and Seasoning
Apply yellow mustard (or your chosen binder) to all sides of the chicken, covering front, back, top, and bottom. Generously coat the chicken with your chosen poultry seasoning, but avoid over-seasoning, especially if it has high salt content. Let the seasoning adhere while preparing the grill.
Step 5: Prepare the Grill
For a gas grill with a rear infrared rotisserie burner, remove most of the firebox components (grates, flame tamers, heat zone separators, and sometimes burners) to create an empty space. Turn on only the rear burner to preheat the grill.
Step 6: Set up Drip Pan
Place a drip pan in the bottom of the firebox. Add about 0.5 inch of water, some seasoning, and cut-up vegetables (like red onion) to the drip pan. Close the grill lid and preheat for at least .
Step 7: Begin Rotisserie Cooking
Once the grill is preheated, place the chicken on the rotisserie rod into the grill. Start the rotisserie motor to begin spinning the chicken. Apply a little more seasoning if desired, as some may have been lost during prep. Close the lid and let it cook. For a 5.5 lb chicken, cook times can range from , depending on your heat source.
Step 8: First Temperature Check
After about of cooking, open the lid and perform the first internal temperature check. The temperature should be around 124-145°F (approximately 50°C). Close the lid and continue cooking.
Step 9: Second Temperature Check and Completion
After another (total ), open the lid and check the internal temperature again. The target internal temperature in the thickest parts of the bird should be a minimum of 165°F (approximately 75°C), ideally reaching 165-180°F (approximately 75°C). Once the target temperature is reached, carefully remove the chicken from the grill using heat-resistant gloves.
Step 10: Rest and Carve
As quickly as possible, remove the cooking twine and rotisserie rod from the chicken to prevent the twine from adhering to the skin and to stop internal overcooking from the hot rod. Use extreme caution as the rod will be very hot. Place the chicken on a cutting board and for about . Rest uncovered for crispier skin or tented with foil for more tender skin. After resting, carve the chicken into desired pieces (leg and thigh quarters, breasts, wings).
Pro Tips
• Use foil pans for easy cleanup when prepping poultry.
• Trussing the chicken first makes seasoning easier and prevents seasoning loss.
• Use pliers to gently tighten rotisserie thumb screws, but do not over-crank.
• For a crispier skin, let the chicken rest uncovered. For a more tender skin, tent with foil.
• The 'oysters' (tender morsels under the wings) are a delicious part of the chicken.
Variations
• Use your preferred poultry seasoning.
• Different grill types (charcoal, gas with different burner setups) will affect cook times.
Your Notes
Jot down your tweaks — swaps you tried, cook-time adjustments, family reactions. Saved on this device only, and printed with the recipe.
You might also like
Other recipes in the same cuisine, meal type, or style — ready to cook whenever you are.
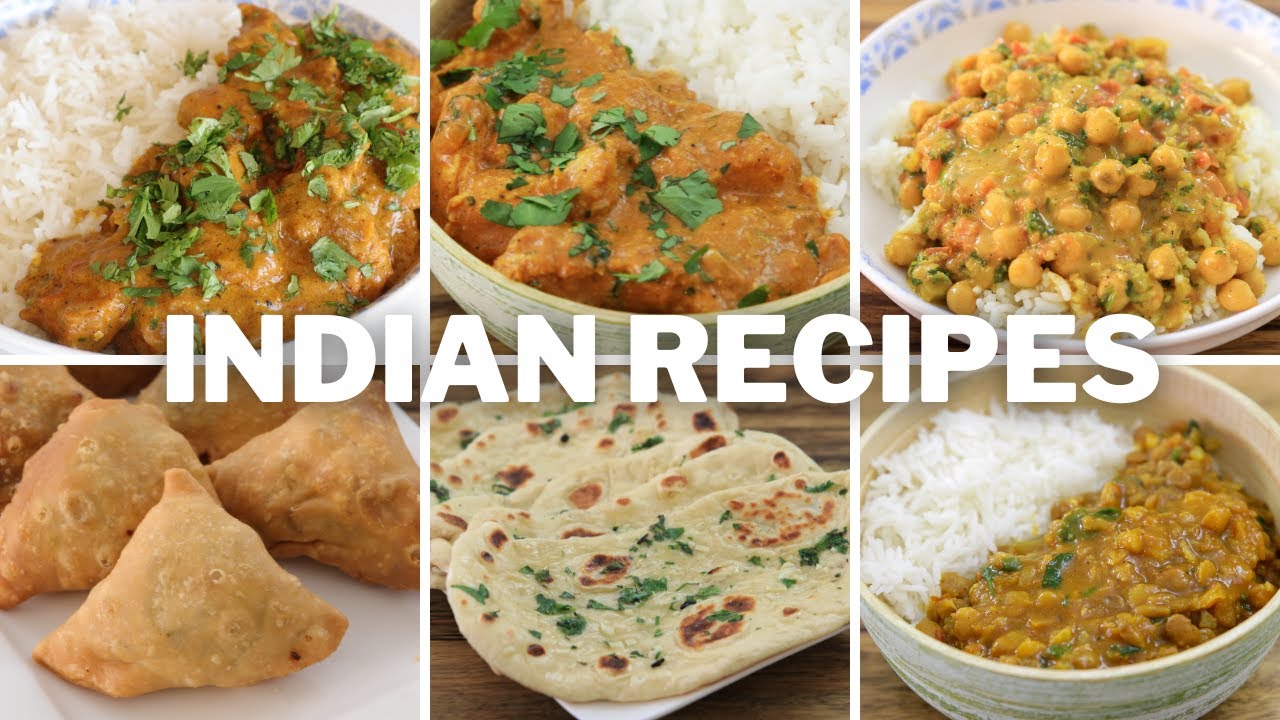
Chicken Curry – Indian Style
Cuisine
Indian · North Indian
Prep + Cook Time
45 Minutes
Difficulty Level
Medium

Chicken Curry – Easy & Tasty
Cuisine
Indian · South Indian
Prep + Cook Time
1 hr 5 min
Difficulty Level
Easy

Country Chicken Fry & Gravy | Nattu Kozhi Varuval & Kuzhambu
Cuisine
Indian · South Indian
Prep + Cook Time
1 hr 10 min
Difficulty Level
Medium
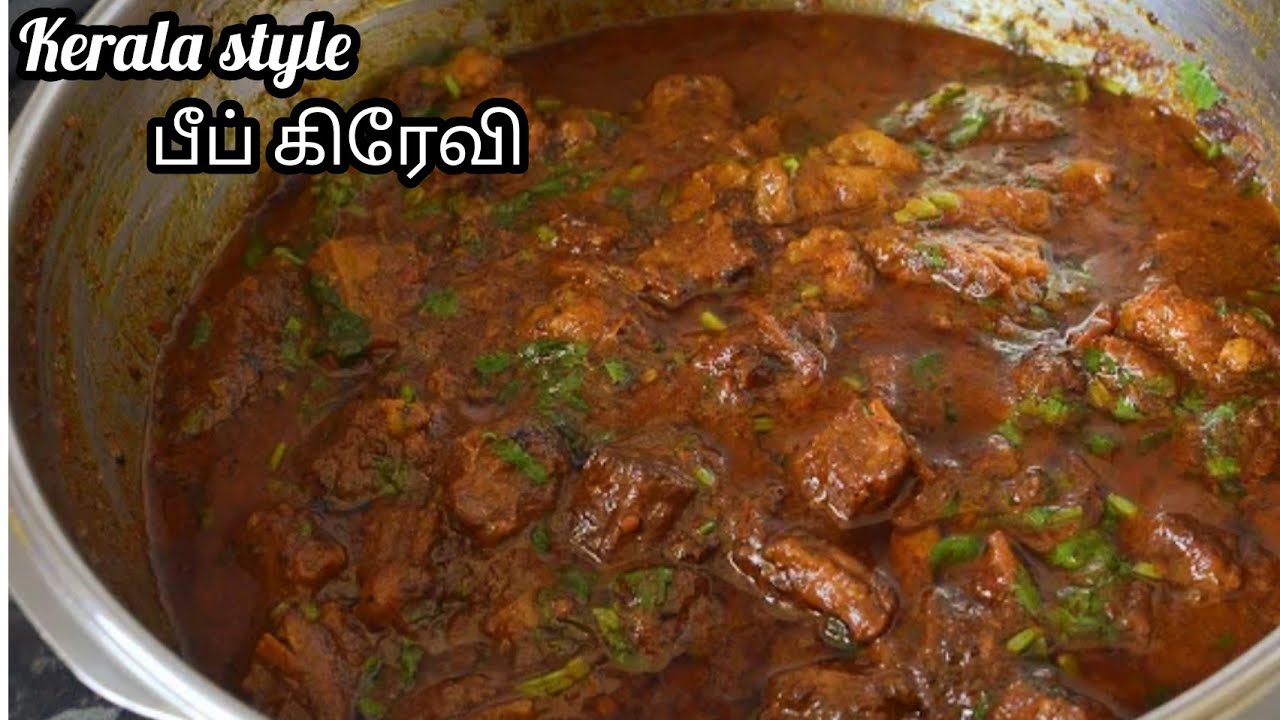
Kerala Style Beef Gravy
Cuisine
Indian · South Indian
Prep + Cook Time
50 Minutes
Difficulty Level
Medium

Pastel de Mandioca y Bondiola
Cuisine
Argentine
Prep + Cook Time
3 hr 30 min
Difficulty Level
Medium
North Indian One-Pot Chicken Curry
Cuisine
Indian · North Indian
Prep + Cook Time
1 hr 10 min
Difficulty Level
Comments
Sign in to leave a comment on this recipe.
Loading comments...