Roti – Indian Flatbread
Summary
- This video guides you through making soft, fluffy Indian rotis (flatbreads) with a focus on intuition rather than strict measurements. It emphasizes simplifying the bread-making process, using minimal ingredients, and understanding the dough through touch and feel to achieve perfect results.
All Ingredients - Main Ingredients
- Wholemeal Atta (Flour) as needed
- Water as needed
- Butter or Ghee for serving
Tools You'll Need
- Skillet
- Tawa
- Grill
- Mixing bowl
- Bowl
- Rolling pin
- Tongs
Don't have an ingredient? Try these swaps
No Butter?
- 3/4 the amount of olive oil (for cooking, not baking)
- Equal parts ghee — Slightly nuttier flavor.
- Equal parts coconut oil (in baking)
No Ghee?
- Unsalted butter (1:1)
- Neutral oil (1:1, lacks the toasted note)
⚠ Contains Allergens
Step-by-Step Instructions
Step 1: Introduce Roti Making Philosophy
The video begins with an introduction to making roti, emphasizing that the focus should be on making soft, fluffy rotis rather than perfectly round ones. The speaker shares her journey of simplifying bread making.
Step 2: Prepare Dough Ingredients
Add wholemeal atta (flour) to a mixing bowl. The speaker advises against using 50-50 flour mixes for authentic roti. Gradually add water, little by little, mixing with your hands to bring the dough together.
Step 3: Initial Dough Hydration and Rest
Once the dough has roughly come together, add a little water to the bottom of the bowl. Pinch holes in the dough to allow the water to seep through, then roll the dough around in the water. Cover the dough with a clean cloth and for to activate the gluten.
Step 4: Knead the Dough
After resting, uncover the dough and it for a couple of minutes until it is soft and no longer sticky. The dough should be soft, not too wet or dry.
Step 5: Second Dough Rest and Tool Preparation
Cover the dough again and for another . While the dough rests, heat a heavy-bottomed skillet (tawa) over medium heat. Gather your tools: a round wooden board (chakla), a rolling pin (belan), tongs, a grill for puffing, and a roti dabba (box) lined with a linen cloth to keep the rotis warm.
Step 6: Portion and Shape Dough Balls
Roll the dough into a log shape and cut it into small, roughly equal portions. Shape each portion into a smooth, round ball (pera) using your hands. Small rotis are preferred.
Step 7: Dust and Roll Roti
Dust a dough ball with flour, ensuring it's evenly coated. Place it on the chakla and roll it out into a thin, round roti using the rolling pin. Apply gentle, even pressure, focusing on rolling towards the edges to achieve a round shape.
Step 8: Cook Roti on Skillet
Place the rolled-out roti onto the hot skillet. Cook one side very lightly until small bubbles appear and it starts to brown slightly (about ). Flip the roti and cook the second side almost completely, until it has more brown spots (about ).
Step 9: Puff Roti Over Flame
Transfer the roti from the skillet to a grill placed directly over an open flame, with the less-cooked side facing down. Gently press the edges of the roti with tongs to help it puff up. Rotate the roti to ensure even cooking and puffing.
Step 10: Serve and Enjoy
Once the roti is puffed and cooked, transfer it to the roti dabba, wrapping it in the linen cloth to keep it soft and warm. Spread a little butter or ghee on the freshly made roti before serving. Repeat the process for the remaining dough balls.
Pro Tips
• Don't overcomplicate bread making; sometimes simplifying things leads to better results.
• Use wholemeal atta (flour) for best results, avoid 50-50 mixes.
• Add water little by little when mixing the dough to avoid making it too wet.
• Pinch holes in the dough and add a little water to the bottom of the bowl during the initial mix to help the gluten activate.
• Rest the dough for 15-20 minutes after the initial mix, then knead for a couple of minutes, and rest again for 5-10 minutes.
• When rolling out the roti, don't put too much pressure on the rolling pin.
• Focus on rolling towards the edges to achieve a round shape, but don't worry if it's not perfectly round.
• Cook one side of the roti very lightly on the skillet, and the other side almost completely before transferring to the flame.
You might also like
Other recipes in the same cuisine, meal type, or style — ready to cook whenever you are.
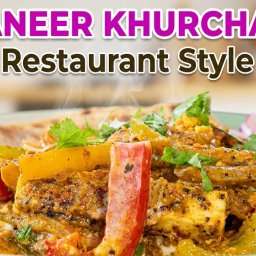
Restaurant Style Paneer Khurchan Recipe
Cuisine
Indian · North Indian
Prep + Cook Time
45 Minutes
Difficulty Level
Medium
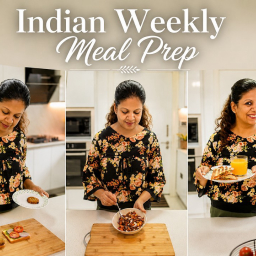
Weekly Meal Prep for Quick & Healthy Meals
Cuisine
Indian · Multi-regional Indian
Prep + Cook Time
2 hr 30 min
Difficulty Level
Medium
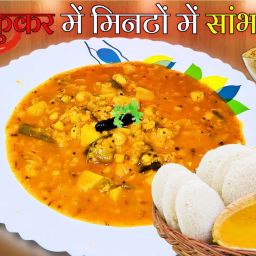
South Indian Style Sambar Recipe
Cuisine
Indian · South Indian
Prep + Cook Time
45 Minutes
Difficulty Level
Medium
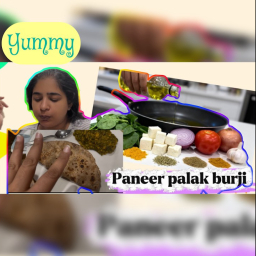
Sattu Palak Paneer Bhurji with Mixed-Grain Roti
Cuisine
Indian · North Indian
Prep + Cook Time
50 Minutes
Difficulty Level
Medium
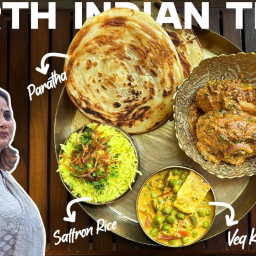
Veg-Nonveg Thali
Cuisine
Indian · North Indian
Prep + Cook Time
1 hr 30 min
Difficulty Level
Medium
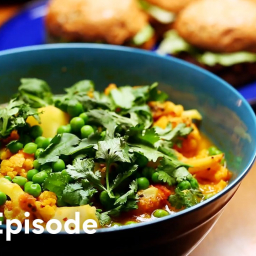
Vegetarian Indian Feast: Lentil Quinoa Burgers, Aloo Gobi, & Carrot Halwa Cupcakes
Cuisine
Indian · East Indian
Prep + Cook Time
1 hr 45 min
Difficulty Level
Comments
Sign in to leave a comment on this recipe.
Loading comments...