Onion Laccha Paratha - Indian Style
Recipe by SILENT GOURMET
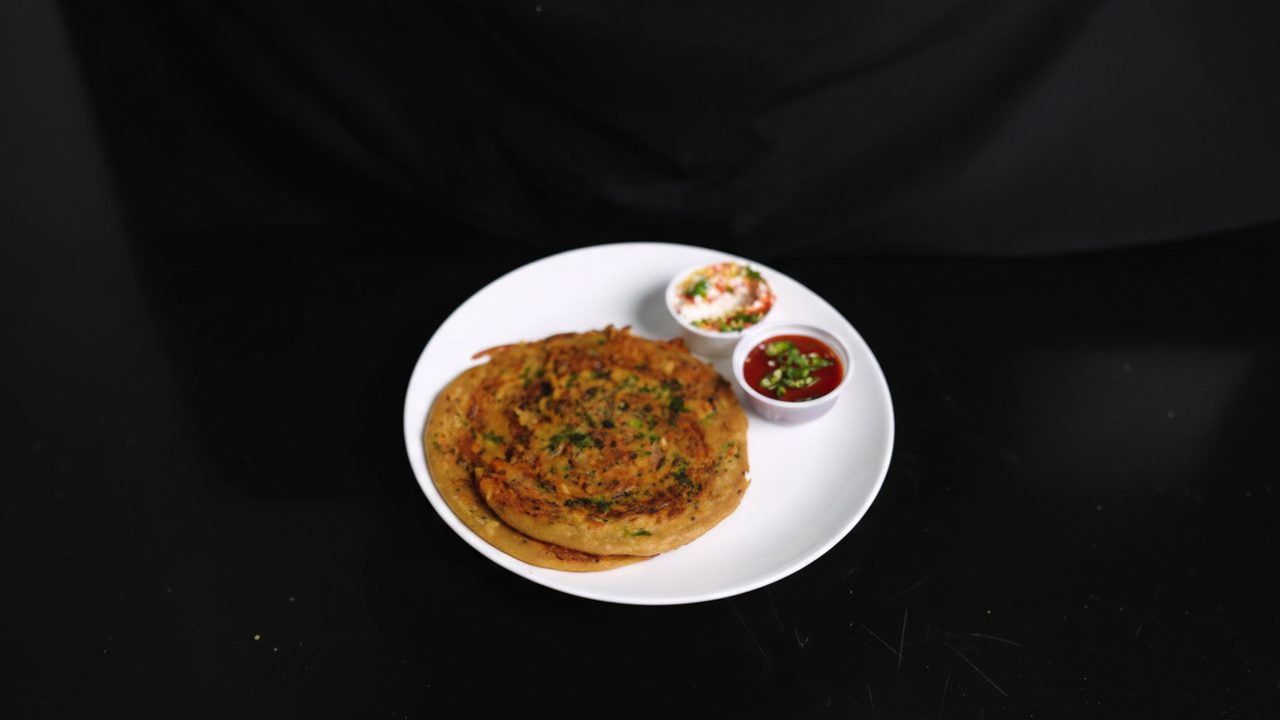
Ingredients
Main Ingredients
- 1 large, thinly slicedRed onions
- to tasteSalt
- 1 teaspoonRed chili powder
- 1 teaspoonCumin powder
- 1/2 teaspoonTurmeric powder
- 1 tablespoonGinger-garlic paste
- 2, choppedGreen chilies
- 2 tablespoons, choppedFresh coriander leaves
- 2 discs (for one paratha)Whole wheat flour dough
- as needed, for dustingAll-purpose flour
- 1/2 teaspoonBlack sesame seeds (Kalonji)
- as needed, for cookingOil or Ghee
- for servingYogurt
- for servingChili sauce
Step-by-Step Instructions
- 1.Prepare the Onion Filling
Thinly slice one large red onion and transfer it to a mixing bowl. Add salt to taste and mix well with your hands to help soften the onions. Then, add 1 teaspoon of red chili powder, 1 teaspoon of cumin powder, 1/2 teaspoon of turmeric powder, 1 tablespoon of ginger-garlic paste, 2 chopped green chilies, and 2 tablespoons of chopped fresh coriander leaves. Mix all ingredients thoroughly until well combined and the onions are slightly softened.
- 2.Stuff the Paratha
Take two rolled-out dough discs (ensure they are of similar size). Place a generous portion of the prepared onion filling onto the center of one dough disc. Carefully place the second dough disc on top, covering the filling completely and sealing the edges.
- 3.Cut and Roll the Dough
Using a pizza cutter, make several parallel cuts across the stuffed dough, ensuring not to cut through the outer edges of the dough. This technique creates the 'laccha' or flaky layers. Gently roll the cut dough from one end to the other to form a tight spiral.
- 4.Prepare for Final Rolling
Place the spiral-shaped dough on a lightly floured surface. Garnish the top with a sprinkle of chopped fresh coriander, a dusting of all-purpose flour, and 1/2 teaspoon of black sesame seeds (Kalonji).
- 5.Roll Out the Paratha
Gently roll out the spiral dough into a flat, round paratha using a rolling pin. Be careful not to press too hard to maintain the layers.
- 6.Cook the Paratha
Heat a pan or tawa over medium heat. Once hot, place the rolled paratha on the pan. Cook for 1-2 minutes until small bubbles appear on the surface, then flip it over. Apply oil or ghee generously on both sides and continue to cook, flipping occasionally, until the paratha turns golden brown and crispy on both sides.
- 7.Serve Hot
Remove the cooked paratha from the pan and stack it on a plate. Serve the hot Onion Laccha Paratha immediately with a side of fresh yogurt and chili sauce.

Comments (0)
Sign in to leave a comment on this recipe.
Loading comments...