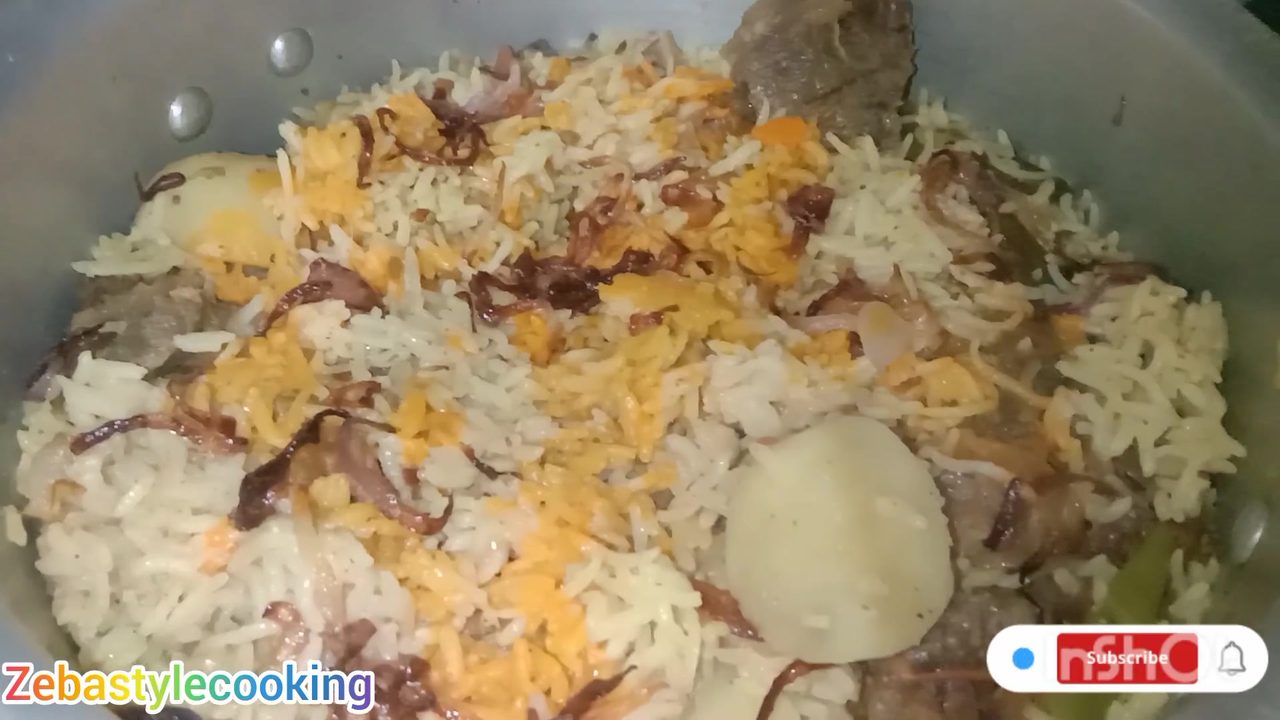
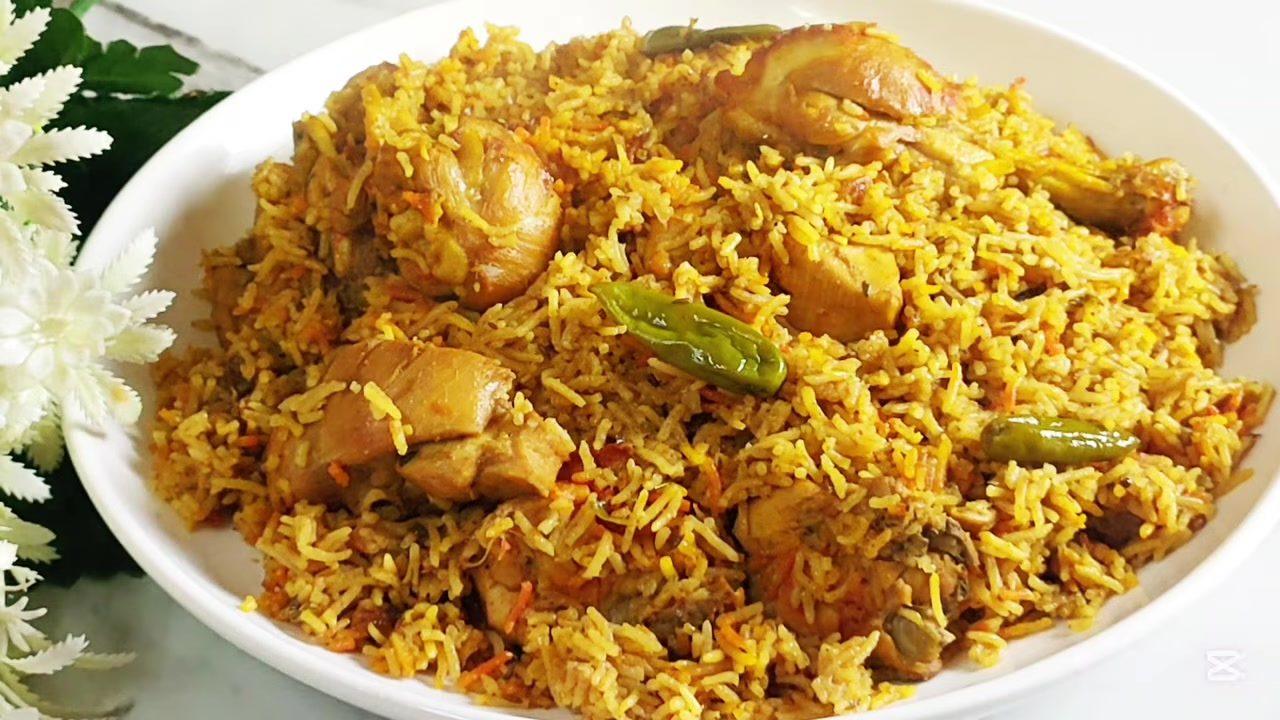
Mutton cooker biryani
Ready in
60 mins
Cuisine
Indian · North Indian
Prep Time
20 min
Cook Time
40 min
Serving
4 People
Difficulty
Medium
Calories / Serving
~600 kcal
Spicy Level

For Boiling Mutton
For Biryani Masala
Step-by-Step Instructions
Follow each step to make the recipe successfully.
Boil Mutton with Spices
Add 1 kg mutton pieces to a pressure cooker. Then add 2 tablespoons of whole coriander seeds, 1 sliced onion, 2 pieces of cinnamon stick, 1 tablespoon of ginger-garlic paste, 5-6 cloves, 1 teaspoon of cumin seeds, and 2 bay leaves. Pour in 1 glass of water.
Pressure Cook Mutton
Close the pressure cooker and cook the mutton for 5 whistles on medium heat to ensure it becomes tender. Once cooked, set aside the boiled mutton and its broth.
Prepare Biryani Base
In a separate pressure cooker, heat 1 cup of oil. Add 2-3 sliced onions and fry until they turn golden brown, which should take about .
Sauté Aromatics and Vegetables
Add 2 tablespoons of ginger-garlic paste to the fried onions and for until fragrant. Then, add 3-4 slit green chilies and 2 sliced tomatoes. for until the tomatoes soften.
Add Potatoes and Mutton
Add 2 halved potatoes to the cooker. Then, add the previously boiled mutton pieces. Mix everything well and for .
Season the Masala
Sprinkle 2 tablespoons of mutton masala powder and 1 tablespoon of homemade garam masala over the mutton and vegetables. Add salt to taste (approximately 2 teaspoons). Mix thoroughly to coat all ingredients with the spices.
Add Broth and Water
Pour in the reserved mutton broth (mutton water) from the boiling process. Add additional water to make a total of 4 glasses of liquid for 2 glasses of rice.
Add Rice and Cook
Add 2 glasses of washed and soaked rice to the cooker. Stir gently to combine the rice with the masala and liquid. Close the pressure cooker and cook for 2 whistles on medium heat. After the whistles, let the pressure release naturally for about .
Serve Biryani
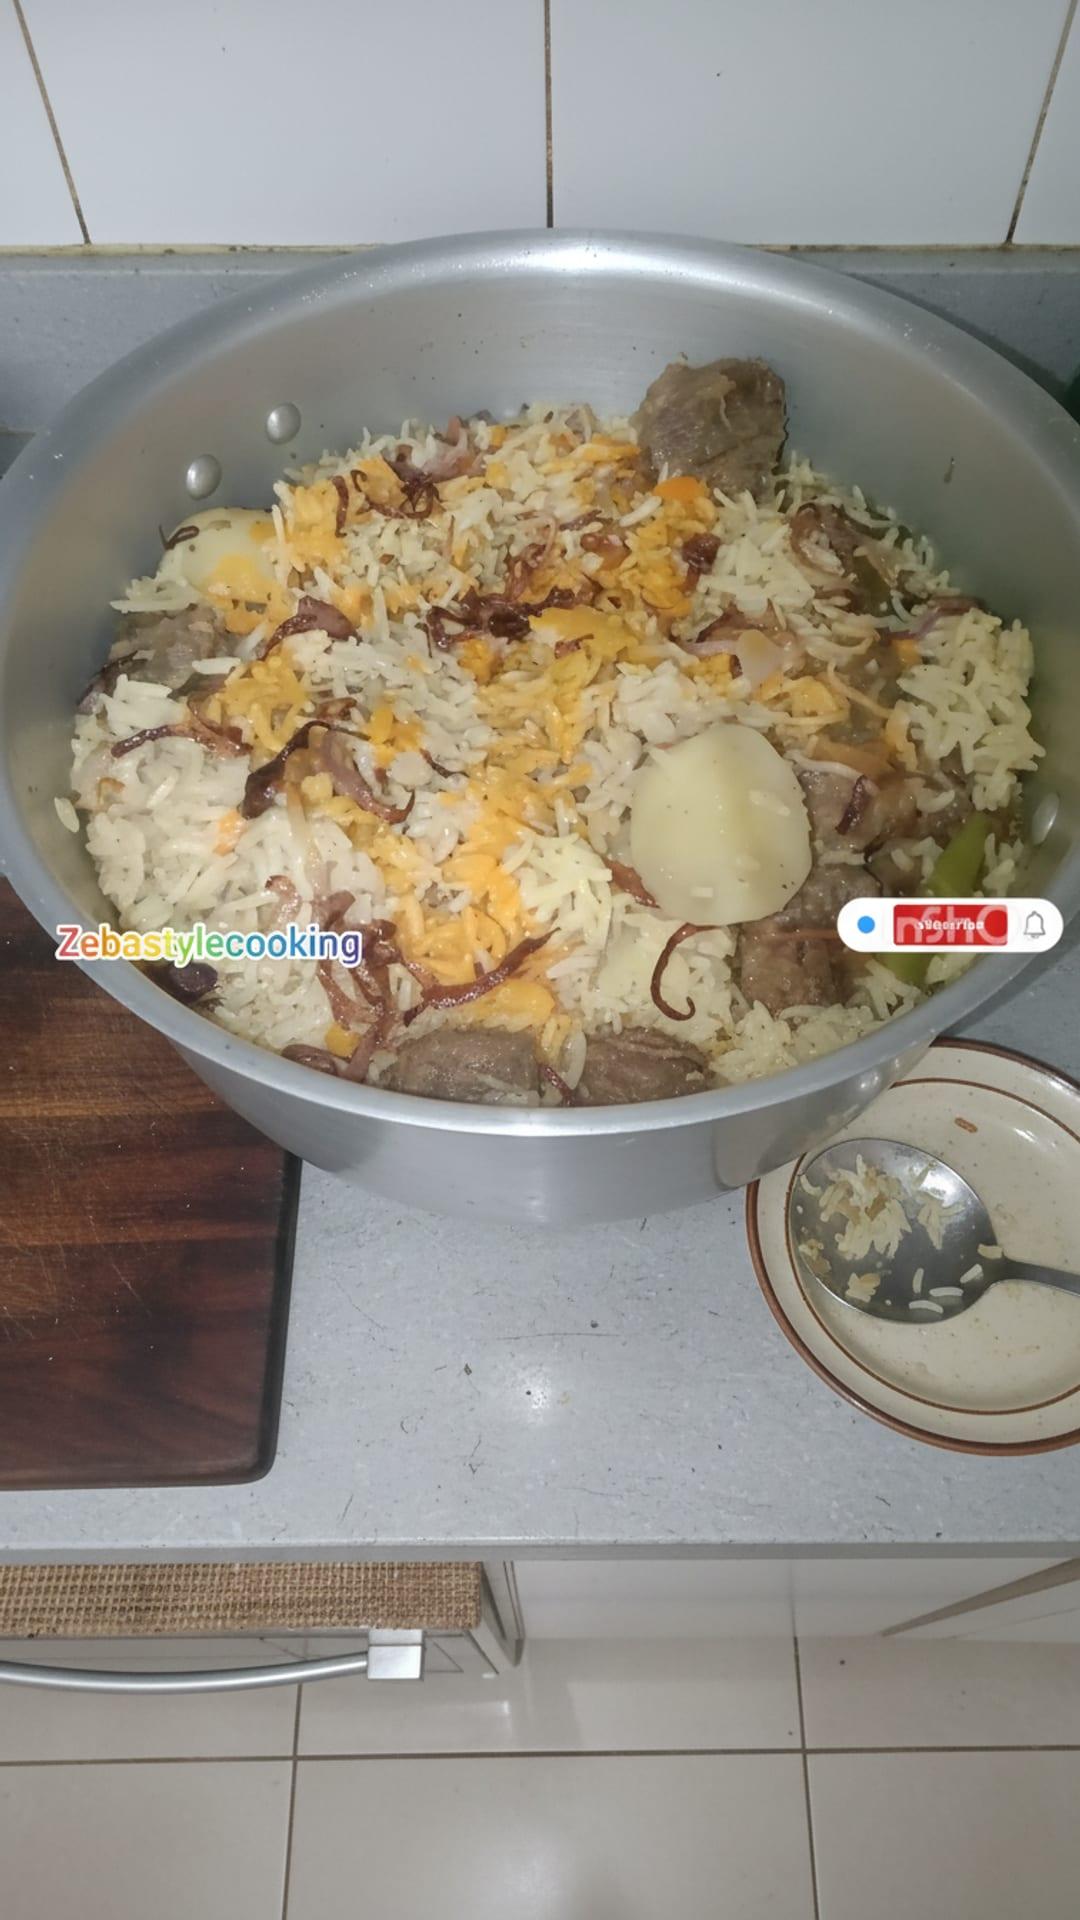
Once the pressure is released, open the cooker. Gently fluff the biryani with a spoon. The mutton biryani is now ready to be served, with each grain of rice perfectly cooked and separate.
Before You Cook
Helpful details before you startIngredient SubstitutionsMissing something? View suitable alternatives.View 4 swaps
No Onion?
- 1 tbsp onion powder (per medium onion)
- 3 tbsp dried minced onion
- Shallots or leeks (1:1)
No Garlic (fresh)?
- 1/4 tsp garlic powder (per clove)
- 1/2 tsp garlic granules (per clove)
No Bay leaf?
- 1/4 tsp dried thyme (per leaf)
- Pinch of dried oregano
No Garam masala?
- 1 tsp cumin + 1/2 tsp coriander + 1/4 tsp cinnamon + 1/4 tsp cardamom
Variations
Simple ways to adapt this recipe.
- Add a few mint leavesCustomise
Add a few mint leaves and fresh coriander along with the tomatoes for an extra layer of freshness.
- A tablespoon of yogurt can
A tablespoon of yogurt can be added to the masala for a richer, creamier texture.
Helpful Tips
Small details that can improve the final result.

Comments (0)
Sign in to leave a comment on this recipe.
Loading comments...