
Kozhikode-Style Mutton Dum Biryani
For Mutton Boiling
For Pacha Masala (Green Masala Base)
For Rice Preparation
For Garnish
Step-by-Step Instructions
Follow each step to make the recipe successfully.
Boil Mutton
In a pressure cooker, boil the mutton pieces with salt and a few hard spices (cinnamon, cloves, cardamom, bay leaf) until 80% cooked. Set aside the mutton and reserve the stock.
Prepare Pacha Masala Base
In a large, heavy-bottomed vessel, heat ghee. Add cinnamon sticks, cloves, cardamom pods, star anise, mace, fennel seeds, dried red chilies, and bay leaves. until fragrant.
Add Aromatics
Add finely chopped ginger, garlic, small onions, green chilies, coriander leaves, and mint leaves. until the onions are translucent.
Add Tomatoes and Powders
Add finely chopped local tomatoes (Naadan Thakali) and cook until softened. Stir in chili powder, coriander powder, turmeric powder, and the special biryani masala powder. Cook until the oil separates.
Combine Mutton and Masala
Add the 80% cooked mutton pieces (without stock) to the prepared pacha masala. Mix well to coat the mutton evenly. Add yogurt (curd) and mix again. Lower the flame and let it .
Cook Mutton in Masala
Cook the mutton in the masala until fully tender (approx. ), ensuring flavors are well-infused.
Prepare Rice
Separately, cook the Kaima/Jeerakasala rice with water, salt, carrots, and hard spices until 80% cooked.
Layering for Dum
In a large dum pot, spread a layer of the cooked mutton masala. Top with a layer of the partially cooked rice.
Garnish and Final Layer
Garnish the rice layer with fried onions (birista), fried cashew nuts, raisins, pineapple, fresh chopped coriander, and mint leaves. Drizzle with ghee and sprinkle biryani masala powder. Add another layer of rice on top.
Dum Cooking Setup
Cover the pot tightly with a lid. Place a custom-designed dum apparatus (a metal frame with gas flames) on top of the lid to provide heat from above.
Dum Cooking
Cook the biryani on dum (slow cooking with heat from both top and bottom) for approximately .
Serve
Once dum cooked, gently mix the biryani to combine the layers and flavors. Serve hot, garnished with more fried onions and herbs.
Before You Cook
Helpful details before you startIngredient SubstitutionsMissing something? View suitable alternatives.View 7 swaps
No Bay leaf?
- 1/4 tsp dried thyme (per leaf)
- Pinch of dried oregano
No Ghee?
- Unsalted butter (1:1)
- Neutral oil (1:1, lacks the toasted note)
No Garlic (fresh)?
- 1/4 tsp garlic powder (per clove)
- 1/2 tsp garlic granules (per clove)
No Onion?
- 1 tbsp onion powder (per medium onion)
- 3 tbsp dried minced onion
- Shallots or leeks (1:1)
No Shallot?
- 1 small onion + 1 small garlic clove
- Sweet onion (1:1, milder)
No Cilantro?
- Flat-leaf parsley (1:1, milder)
- Fresh mint (in chutneys, salads)
No Yogurt?
- Sour cream (1:1)
- Buttermilk (1:1, slightly thinner result)
Variations
Simple ways to adapt this recipe.
- This recipe can be adapted
This recipe can be adapted for Chicken Dum Biryani.
Helpful Tips
Small details that can improve the final result.
More from Food Lovers TV
Other recipes converted from Food Lovers TV's cooking videos.

You might also like
Other recipes in the same cuisine, meal type, or style — ready to cook whenever you are.

Home-Style Chicken Biryani - Chef Deena's Kitchen
Cuisine
Indian · South Indian
Prep + Cook Time
1 hr 45 min
Difficulty Level
Medium
Home Style Chicken Biryani – Coimbatore Special
Cuisine
Indian · South Indian
Prep + Cook Time
1 hr 20 min
Difficulty Level
Medium
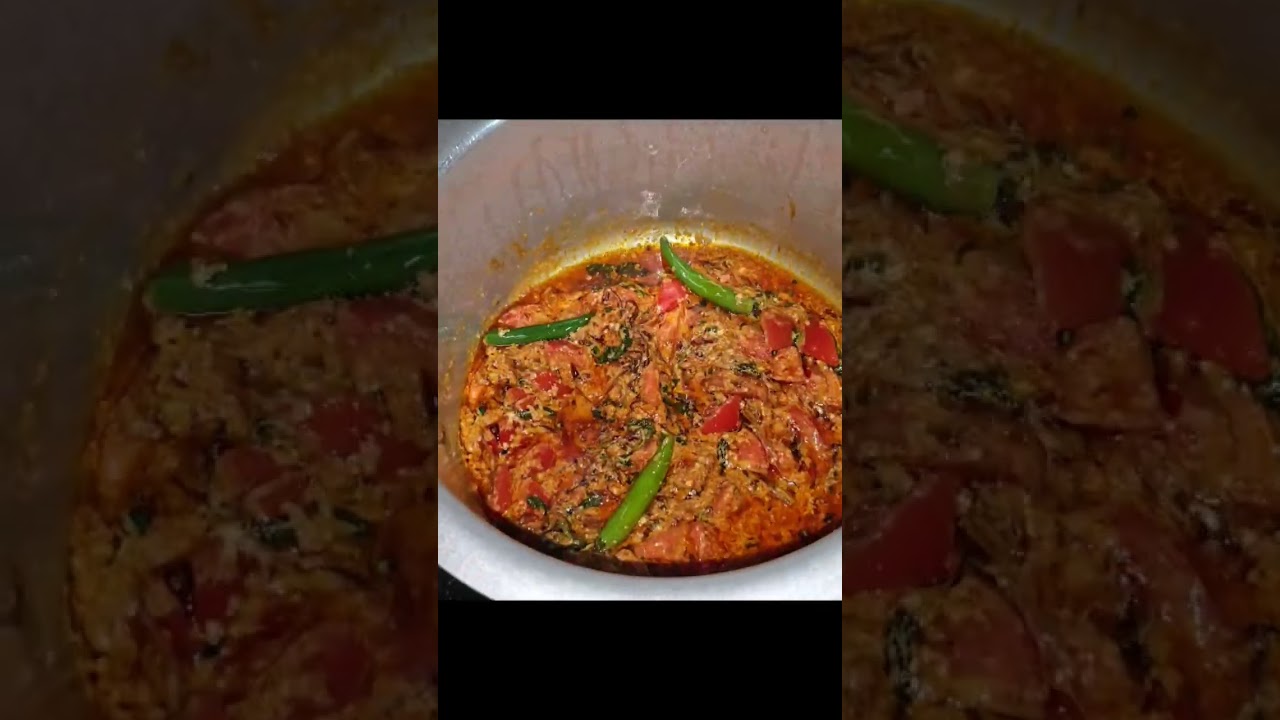
Delicious Chicken Biryani
Cuisine
Indian · South Indian
Prep + Cook Time
1 hr
Difficulty Level
Medium
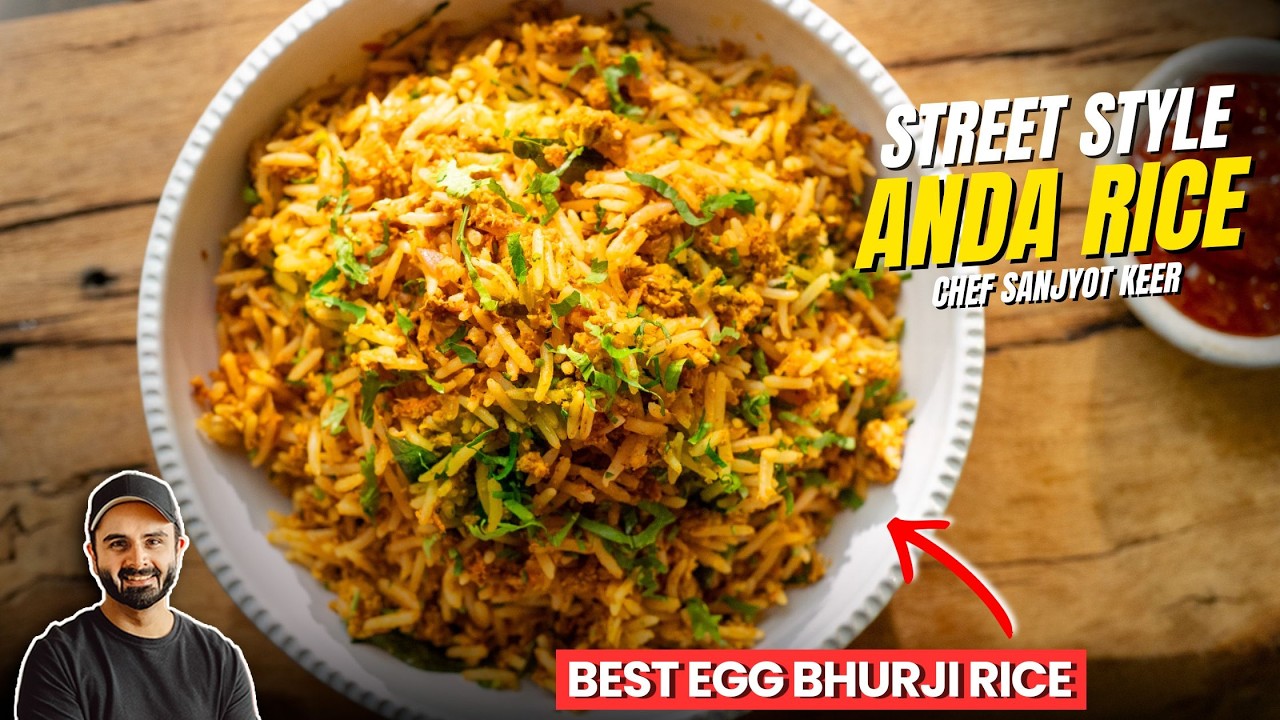
Anda Rice (Street Style Egg Rice)
Cuisine
Indian · Street Food
Prep + Cook Time
25 Minutes
Difficulty Level
Easy
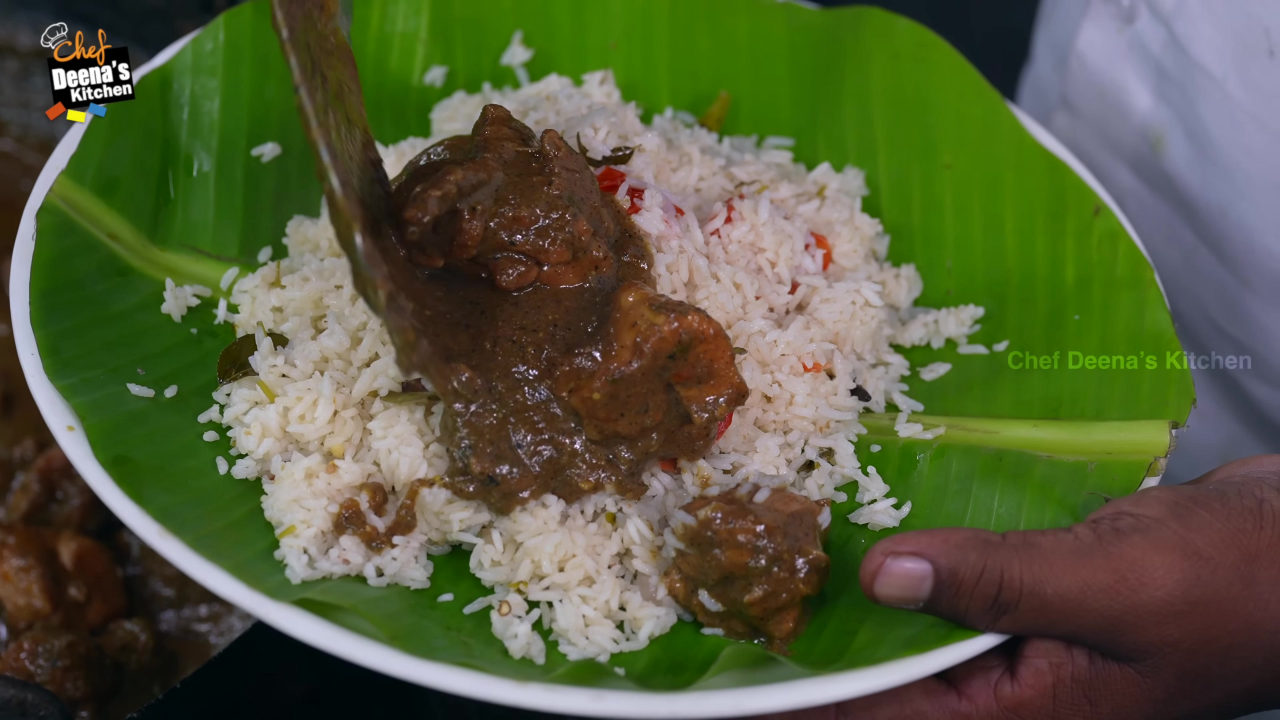
Nellai Ghee Rice & Pepper Chicken Sukka
Cuisine
Indian · South Indian
Prep + Cook Time
1 hr 20 min
Difficulty Level
Medium

Chicken Biryani
Cuisine
Indian · North Indian
Prep + Cook Time
2 hr
Difficulty Level
Comments (0)
Sign in to leave a comment on this recipe.
Loading comments...