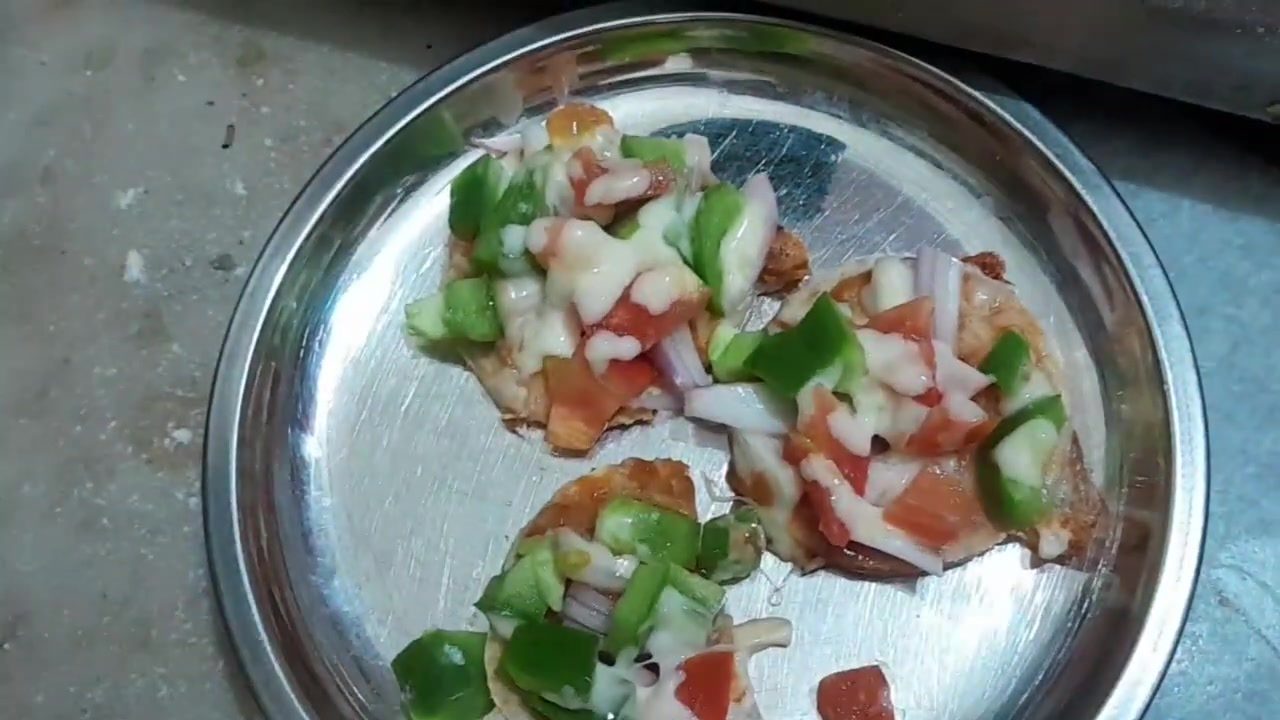
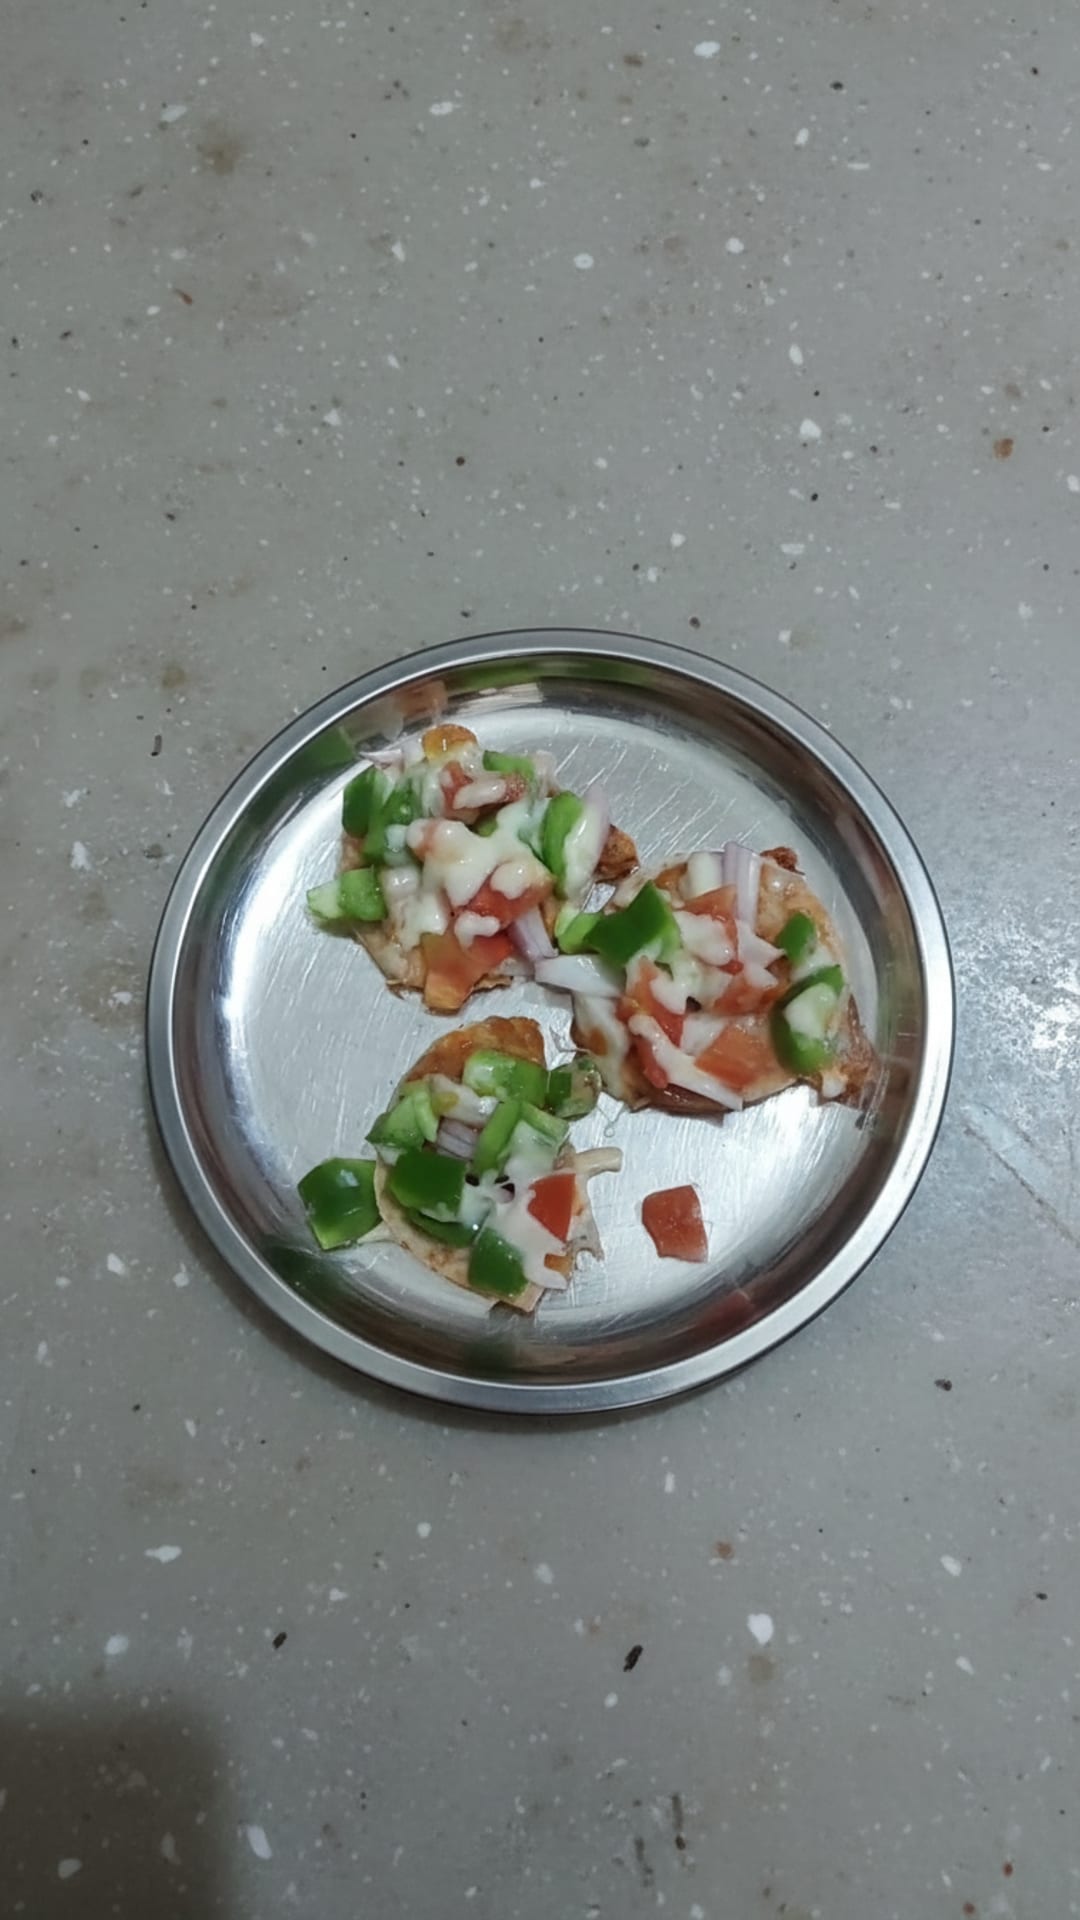
Leftover Atta Mini Pizzas
Recipe by My Easy Recipes
Ingredients
Main Ingredients
- 2 portions (for 2 rotis)Leftover Wheat Flour Dough
- 1 medium (chopped)Red Onion
- 1 medium (chopped)Tomato
- 1 medium (chopped)Green Bell Pepper
- 4-6 tablespoonsTomato Ketchup
- to tasteSalt
- 1 teaspoonGaram Masala
- 1 teaspoonDried Mango Powder (Amchur)
- 2 teaspoonsPiri Piri Cheese Mix
- 1 cup (grated/cubed)Mozzarella Cheese
Step-by-Step Instructions
- 1.Prepare Vegetables
Chop the green bell pepper into small pieces. You can roast it separately if you don't prefer raw bell pepper, but it's used raw in this recipe.
- 2.Prepare Onion
Roughly chop the red onion. Similar to the bell pepper, you can roast it if you prefer, but it's used raw here.
- 3.Prepare Tomato
Dice the tomato into small pieces. Do not roast it; it will be used fresh. If preferred, you can make a puree and roast it.
- 4.Roll Out Dough
Take a portion of leftover wheat flour dough (equivalent to one roti). Dust your work surface with flour and place the dough ball on it. Roll out the dough into a large, thin circle, similar to a roti.
- 5.Cut Mini Pizza Bases
Using a glass or a small bowl, cut out circular shapes from the rolled-out dough. One large roti typically yields about 3 mini pizza bases. Carefully separate the cut circles from the excess dough.
- 6.Partially Cook Bases
Heat a tawa (griddle) over medium heat. Place the dough circles on the hot tawa. Cook them lightly on one side until they start to show small brown spots, then flip them to cook the other side just enough to firm up, but not fully cook. The base should remain soft.
- 7.Apply Ketchup and Spices
Remove the partially cooked bases from the tawa. Spread tomato ketchup evenly over the cooked side of each mini pizza base. Sprinkle a pinch of salt, garam masala, dried mango powder, and Piri Piri Cheese Mix over the ketchup. Use a spoon to gently spread the spices for even distribution.
- 8.Add Toppings
Place the spiced mini pizza bases back on the tawa. Distribute the chopped red onion, green bell pepper, and tomato evenly over each base.
- 9.Add Cheese and Melt
Generously sprinkle mozzarella cheese over the vegetables on each mini pizza. Cover the tawa with a lid and reduce the flame to very low. Cook for 5-7 minutes, or until the cheese is completely melted and bubbly, and the base is crispy. Be careful not to burn the base.
- 10.Serve Hot
Once the cheese is melted and the bases are crispy, carefully remove the mini pizzas from the tawa using a spatula. Serve hot and enjoy the cheesy goodness. The cheese should be stretchy and delicious.



Comments (0)
Sign in to leave a comment on this recipe.
Loading comments...