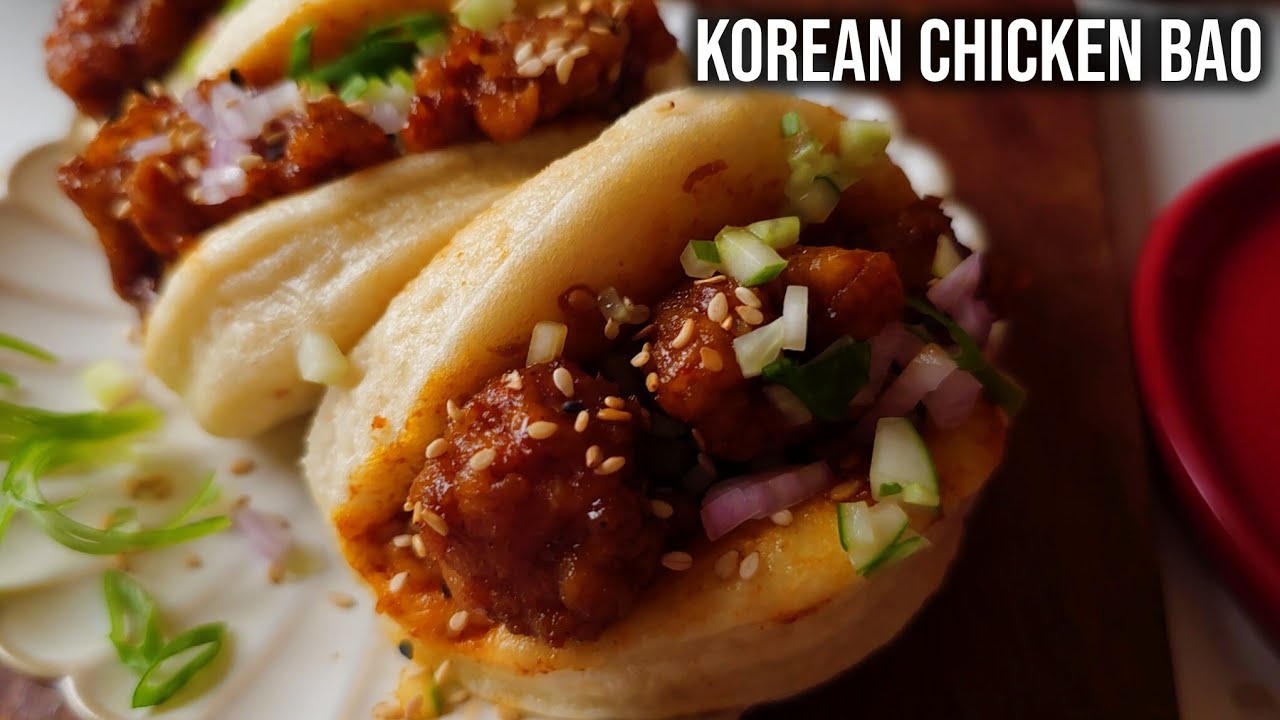
Korean Chicken Bao – Restaurant Style
For the Bao Buns Dough
For Korean Chicken Stuffing
For Korean Sauce
For Garnish
Step-by-Step Instructions
Follow each step to make the recipe successfully.
Prepare the Bao Buns Dough
In a large bowl, combine 500g all-purpose flour, 7g instant yeast, 40g sugar, 1 tsp baking powder, and 1/2 tsp salt. Add 3 tbsp oil and 1 cup warm milk. Gradually add warm water as required and mix to form a dough. the dough for until it becomes smooth and elastic.
Proof the Dough
Lightly grease a clean bowl with oil. Place the dough in the bowl, turn it once to coat with oil, then cover with cling film or a lid. Let it proof in a warm place for , or until it doubles in size.
Marinate the Chicken
Cut 500g boneless chicken (thighs and breast mix) into small cubes. In a bowl, add the chicken, 1 tsp garlic powder, 1/2 tsp chicken powder, 1/2 tsp ginger powder, 1/2 tsp black pepper, 1/2 tsp salt, and 1 egg. Mix well to coat the chicken evenly. for at least .
Coat the Chicken
After marination, add 5 tbsp cornflour and 3 tbsp all-purpose flour to the chicken. Gently mix with light hands until the chicken pieces are lightly coated with the flour mixture. Avoid overmixing.
First Fry the Chicken
Heat oil for deep frying in a pan. Once the oil is hot, carefully add the coated chicken pieces one by one. Fry for until lightly golden and cooked through. Remove the chicken from the oil and set aside.
Second Fry for Crispy Chicken
After , return the fried chicken pieces to the hot oil for a second fry. Fry for a few seconds, stirring constantly, until they turn extra crispy and golden brown. Remove from oil and drain excess oil.
Toast Sesame Seeds
In a separate dry pan, add 1 tbsp white sesame seeds. on medium flame, stirring continuously, until they start to crackle and turn lightly golden. Set aside.
Prepare the Korean Sauce
In a clean pan, melt 2 cubes of butter. Add 1 tbsp finely chopped garlic and for a few seconds until fragrant. Turn off the flame. Add 1 tbsp Gochujang, 1/2 tbsp Gochugaru, 2 tbsp tomato ketchup, 1 tbsp light soy sauce, 1 tbsp brown sugar, 1/2 tbsp honey, 1/2 tbsp white vinegar, and 1 tsp sesame oil. Mix all ingredients well. Turn on the flame and bring the sauce to a boil, stirring until it thickens slightly.
Coat Chicken with Sauce
Once the sauce boils, add the double-fried crispy chicken pieces to the pan. Toss well to ensure all chicken pieces are thoroughly coated with the Korean sauce. Garnish with white sesame seeds.
Shape the Bao Buns
Punch down the proofed dough to release air. Transfer it to a clean surface and divide it into 4 equal parts. Take one part and roll it into a smooth ball. Using a rolling pin, flatten the ball into an oval shape, about 1/2 inch thick.
Fold and Proof Bao Buns
Using a biscuit cutter, cut out circles from the rolled dough. Place each circle on a small square of baking paper. Brush a thin layer of oil on one half of the dough circle, then fold it in half to create the classic bao bun shape. Gently press down. Let the shaped bao buns proof for another .
Steam the Bao Buns
In a large pot, add water and place a rack or stand. Bring the water to a boil. Place a plate on the stand and carefully arrange the proofed bao buns (with their baking paper) on the plate. Cover the pot with a lid and for . Do not open the lid during . Once , remove the bao buns.
Assemble and Serve
Once the bao buns are slightly cooled, gently open them up. Fill each bao bun with a generous amount of the Korean fried chicken. Garnish with chopped red onion, chopped cucumber, and chopped spring onion greens. Serve immediately and enjoy your delicious Korean Chicken Bao!
Before You Cook
Helpful details before you startIngredient SubstitutionsMissing something? View suitable alternatives.View 11 swaps
No All-purpose flour?
- White whole wheat flour (1:1)
- 1 cup minus 2 tbsp + 2 tbsp cornstarch (cake flour swap)
No Baking powder?
- 1/4 tsp baking soda + 1/2 tsp cream of tartar (per 1 tsp)
- 1/4 tsp baking soda + 1/2 cup buttermilk (replace some liquid)
No Milk?
- Unsweetened almond / soy / oat milk (1:1)
- 1/2 cup evaporated milk + 1/2 cup water (per 1 cup)
No Egg?
- 1 tbsp ground flax + 3 tbsp water (rest 5 min) — Per egg, best in baking.
- 1/4 cup unsweetened applesauce — Per egg, in sweet baked goods.
- 1/4 cup silken tofu, blended — Per egg.
No Butter?
- 3/4 the amount of olive oil (for cooking, not baking)
- Equal parts ghee — Slightly nuttier flavor.
- Equal parts coconut oil (in baking)
No Garlic (fresh)?
- 1/4 tsp garlic powder (per clove)
- 1/2 tsp garlic granules (per clove)
No Soy sauce?
- Tamari (1:1) — Gluten-free option.
- Coconut aminos (1:1, milder & sweeter)
- Worcestershire sauce + a pinch of salt
No Brown sugar?
- 1 cup white sugar + 1 tbsp molasses
- Coconut sugar (1:1)
No Honey?
- Maple syrup (1:1)
- 1 1/4 cup sugar + 1/4 cup water (per 1 cup honey)
No Vinegar (white)?
- Lemon or lime juice (1:1)
- Apple cider vinegar (1:1)
No Onion?
- 1 tbsp onion powder (per medium onion)
- 3 tbsp dried minced onion
- Shallots or leeks (1:1)
Variations
Simple ways to adapt this recipe.
- For a vegetarian optionDietary option
Substitute chicken with crispy fried tofu or mushrooms.
- Adjust the spice level of
Adjust the spice level of the sauce by increasing or decreasing Gochugaru.
- Add a touch of srirachaCustomise
Add a touch of sriracha or other hot sauce for extra heat.
- Serve with pickled daikon or
Serve with pickled daikon or kimchi for added tanginess.
Helpful Tips
Small details that can improve the final result.
You might also like
Other recipes in the same cuisine, meal type, or style — ready to cook whenever you are.
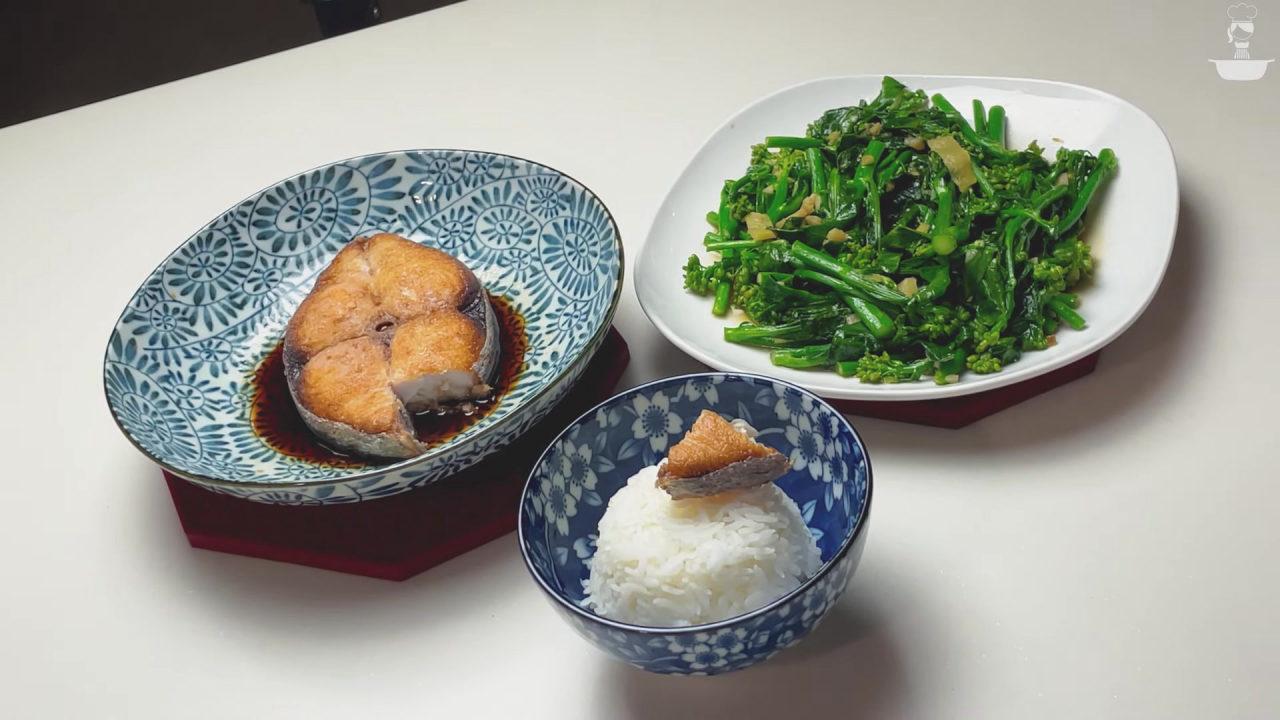
Pan-Fried Spanish Mackerel Fillet
Cuisine
Asian · Cantonese
Prep + Cook Time
15 Minutes
Difficulty Level
Easy
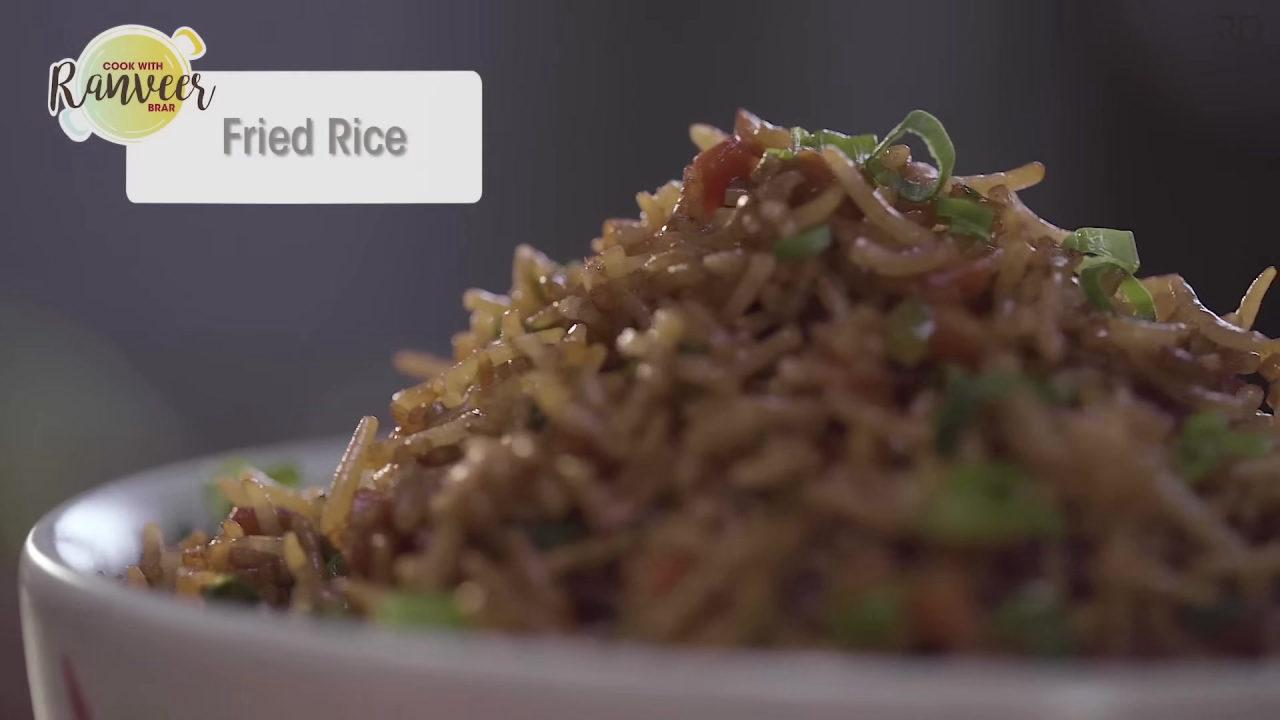
Street Style Fried Rice
Cuisine
Asian · Indian Chinese
Prep + Cook Time
35 Minutes
Difficulty Level
Medium
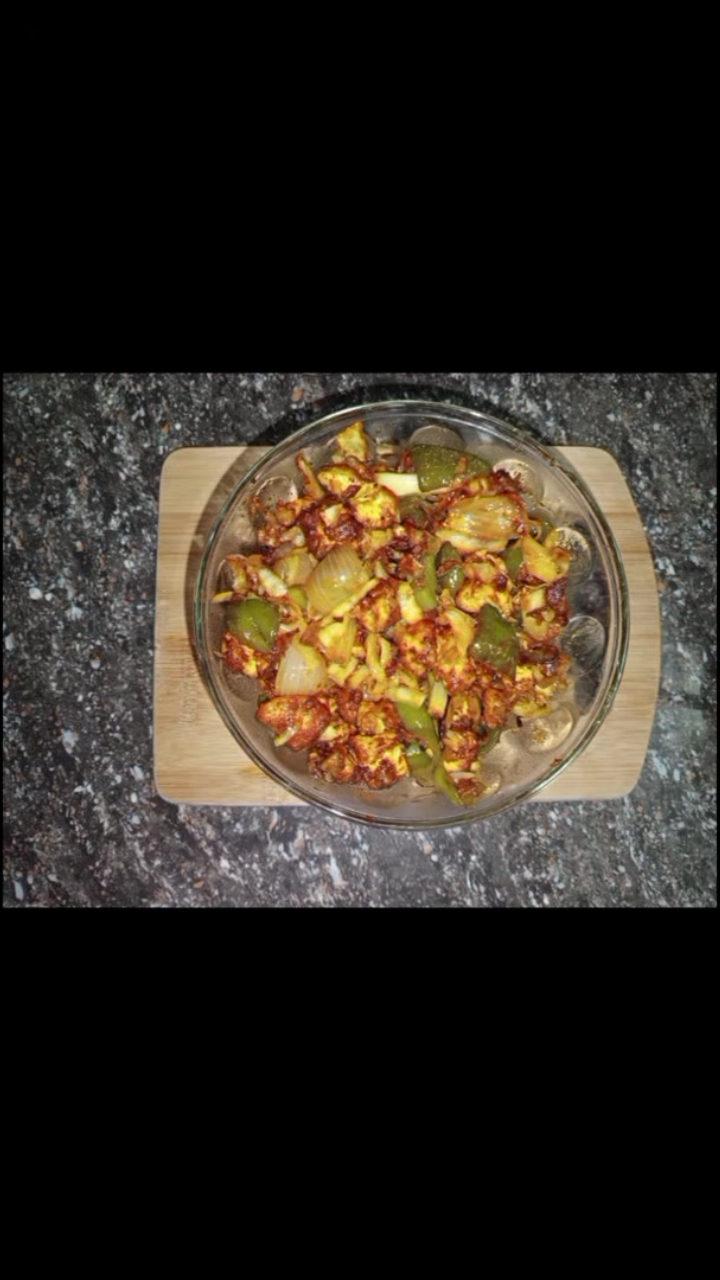
Chilli Paneer with Cabbage – Unique Indo-Chinese Style
Cuisine
Indian · Indo-Chinese
Prep + Cook Time
35 Minutes
Difficulty Level
Medium
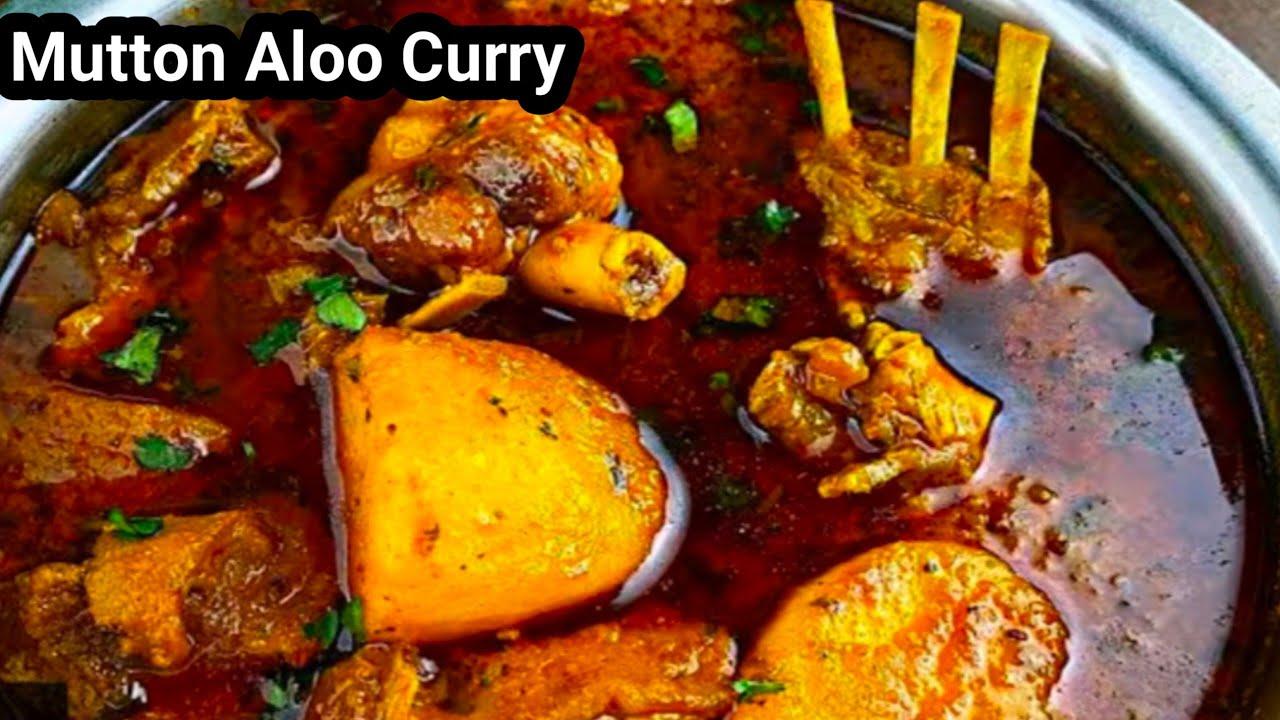
Easy Mutton Curry with Potatoes in Pressure Cooker
Cuisine
Indian · North Indian
Prep + Cook Time
1 hr
Difficulty Level
Medium
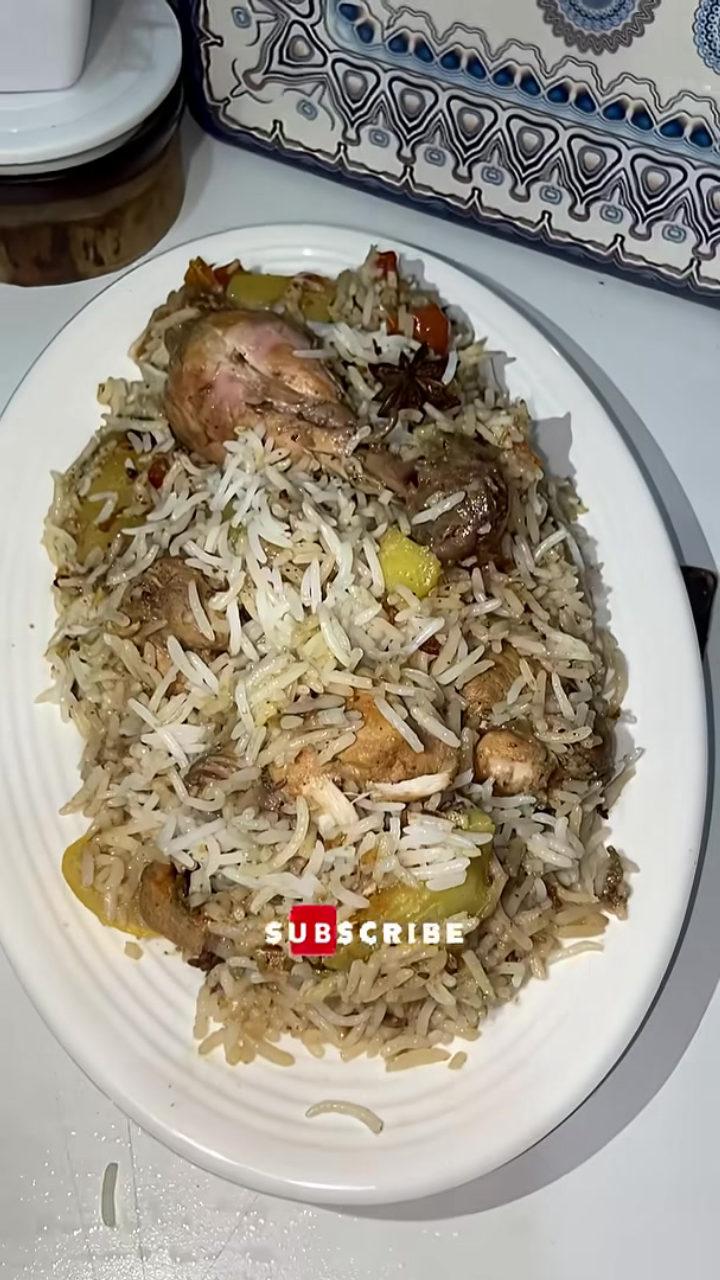
White Chicken Biryani
Cuisine
Pakistani · South Asian
Prep + Cook Time
1 hr 10 min
Difficulty Level
Medium
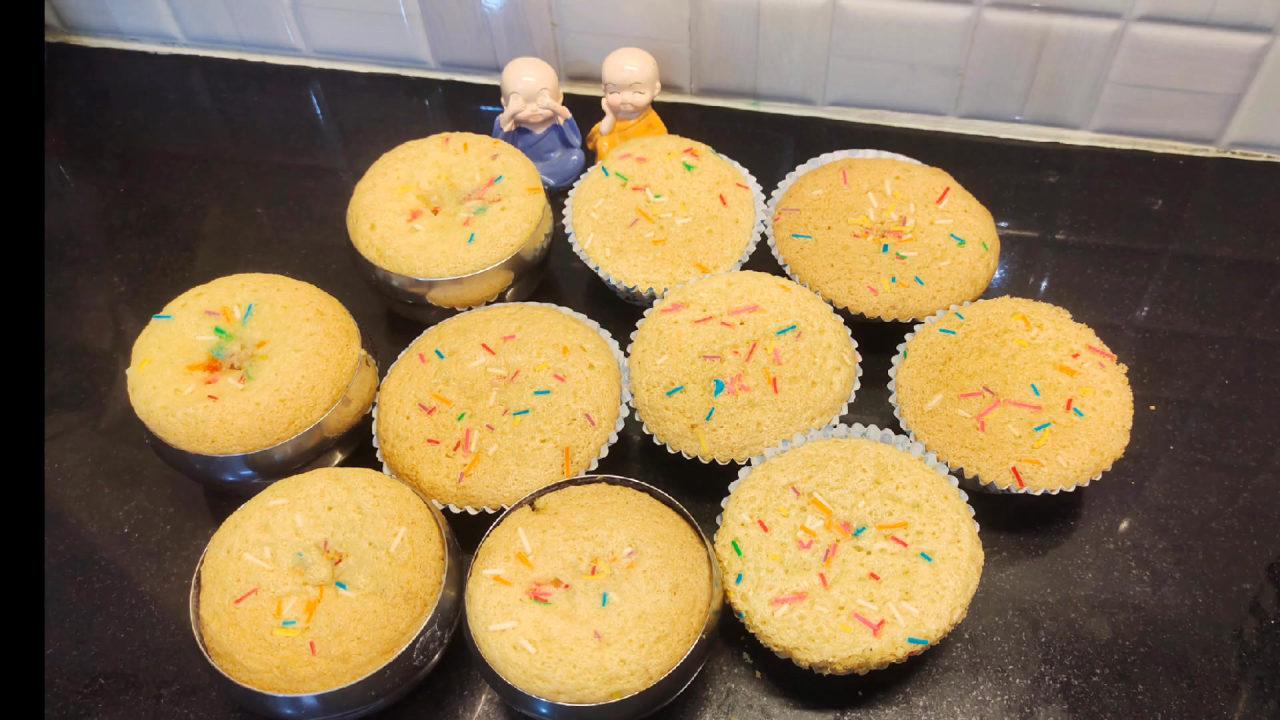
Vanilla Spongy Cupcakes
Cuisine
Indian · Andhra
Prep + Cook Time
40 Minutes
Difficulty Level
Comments (0)
Sign in to leave a comment on this recipe.
Loading comments...