Instant Pani Puri (Golgappa)
Ingredients
Pani Puri Kit & Puri Preparation
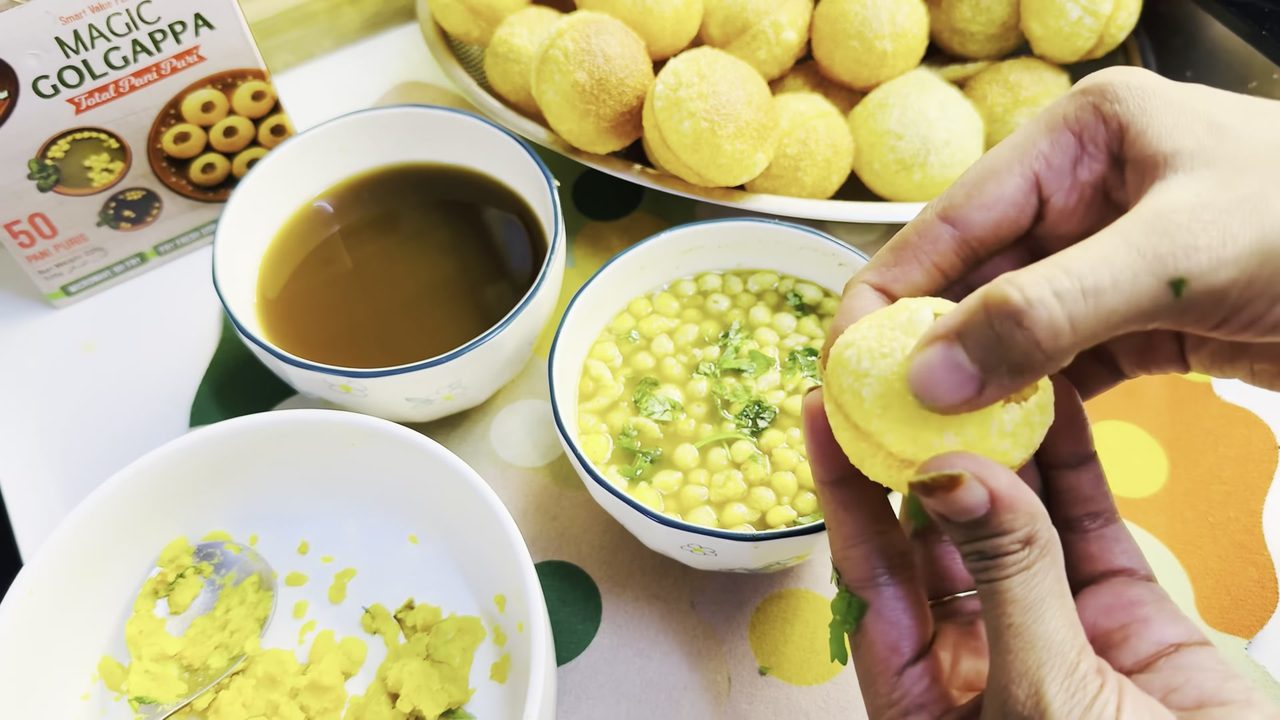
- 1 box (contains 50 puris, boondi, green paste, tamarind paste)Magic Golgappa Kit
- as neededOil spray
Pani (Water)
- 300 ml (150ml for green pani, 150ml for tamarind pani)Chilled water
- 4 (2 for green pani, 2 for tamarind pani)Ice cubes
Potato Filling
- 1, mashedBoiled potatoes
- to tasteSalt
- to tasteRed chili powder
- to tasteCoriander powder
- to tasteTurmeric powder
- 1/2, choppedOnion
- chopped, for filling and garnishCoriander leaves
Step-by-Step Instructions
- 1.Prepare the Puris
Open the 'Magic Golgappa' box and take out the golden sachet containing the puri discs. Transfer the puri discs into a bowl. Spray a little oil on the puris and mix well to coat them. Place the oiled puris in an air fryer lined with parchment paper. Air fry at 180°C for 5 minutes until they puff up and become golden brown.
- 2.Prepare the Green Pani
Take out the silver sachet containing the green paste from the kit. Pour the green paste into a bowl. Add 150ml of chilled water and 2 ice cubes to the paste. Mix thoroughly with a spoon until well combined. Set aside.
- 3.Prepare the Tamarind Pani
Take out the sachet containing the tamarind paste. Pour the tamarind paste into a separate bowl. Add 150ml of chilled water and 2 ice cubes to the paste. Mix thoroughly with a spoon until well combined. Set aside.
- 4.Add Boondi to Green Pani
Open the boondi sachet from the kit. Pour the boondi into the prepared green pani. Stir gently to combine. Set aside.
- 5.Prepare the Potato Filling
In a separate bowl, mash 1 boiled potato. Add salt, red chili powder, coriander powder, turmeric powder, 1/2 chopped onion, and chopped coriander leaves to the mashed potato. Mix all ingredients thoroughly until well combined.
- 6.Assemble and Serve Pani Puri
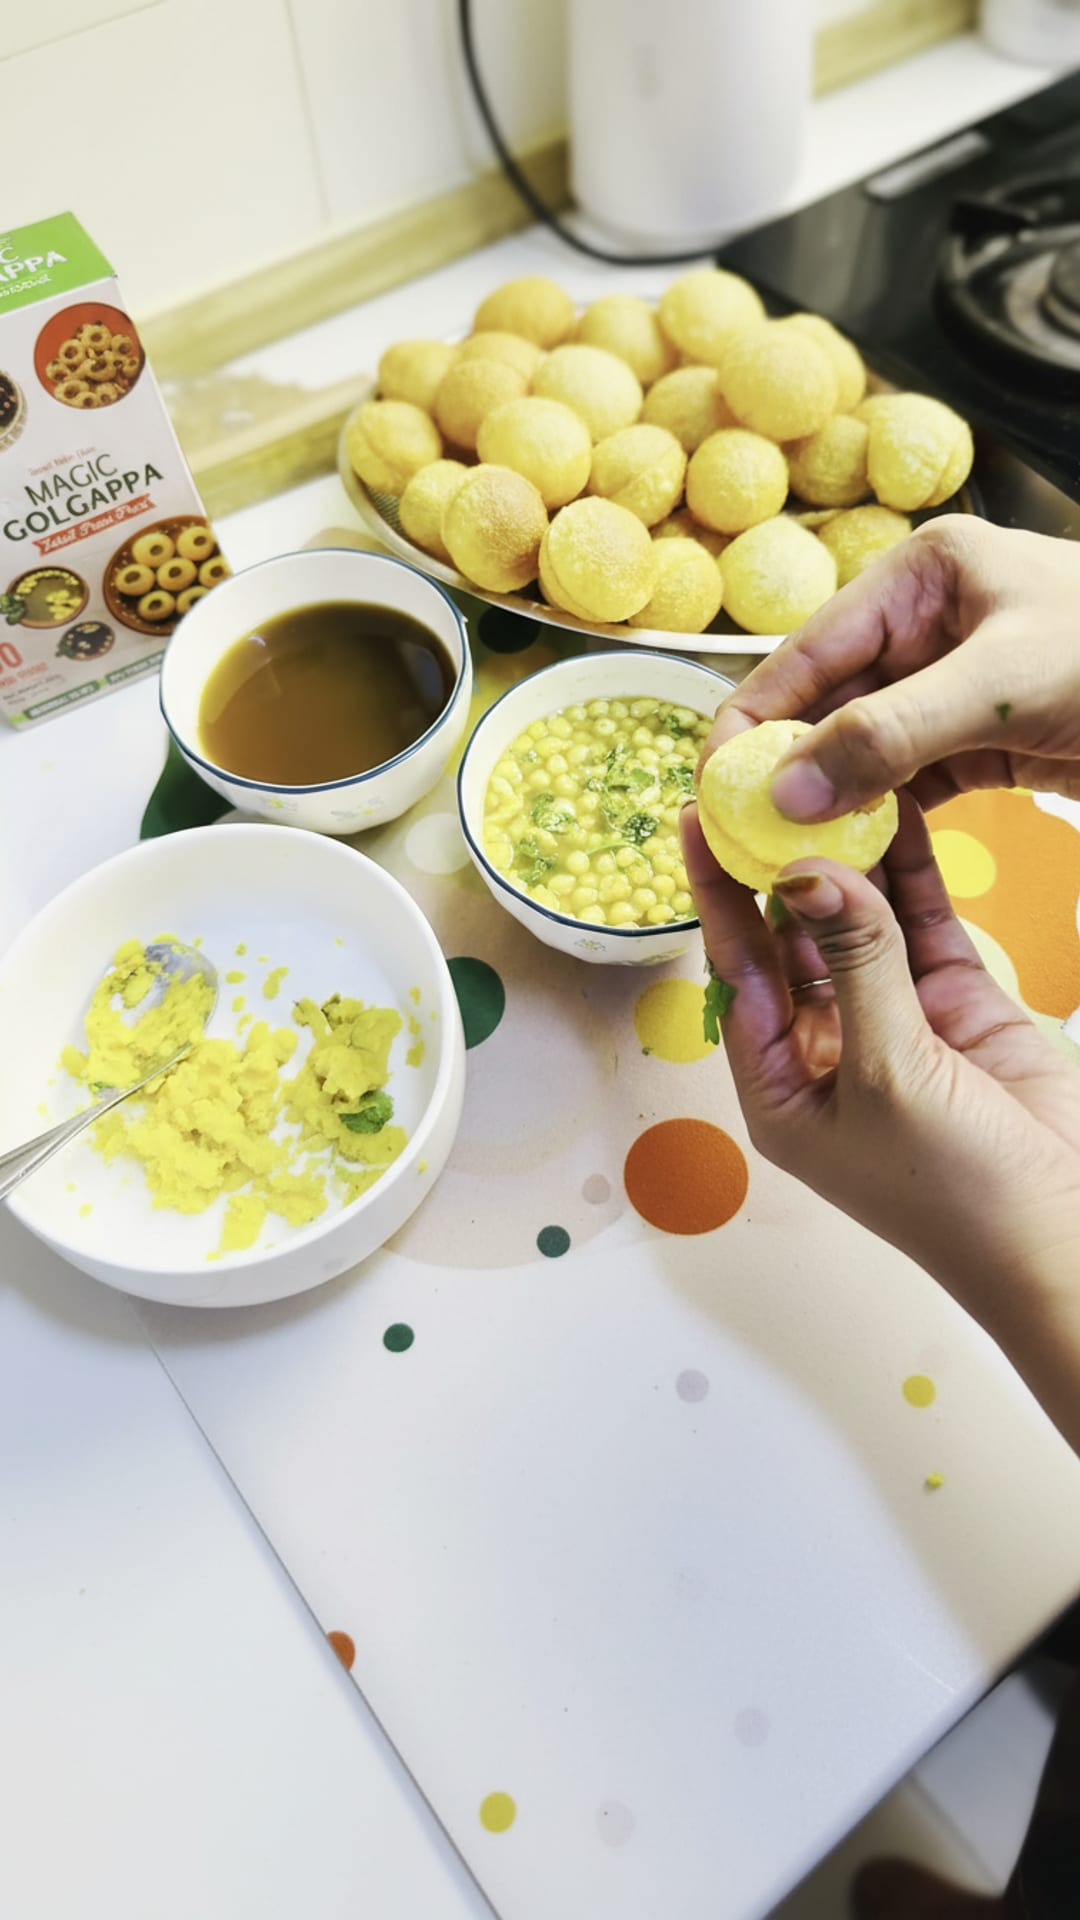
Once the puris are ready (puffed and golden), take one puri and gently crack a hole in the top. Fill the puri with a spoonful of the potato mixture. Add a spoonful of the green pani (with boondi) into the puri. Then, add a spoonful of the tamarind pani. Serve immediately and enjoy your homemade instant Pani Puri!






Comments (0)
Sign in to leave a comment on this recipe.
Loading comments...