
Milk Cake – Home Cooking
Main Ingredients
Step-by-Step Instructions
Follow each step to make the recipe successfully.
Boil the Milk
Pour 2 liters of 3% milk fat milk into a pan. Bring the milk to a nice rolling boil, stirring at intervals to prevent it from sticking to the bottom of the pan.
Curdle the Milk
Once the milk starts boiling, add lemon juice in drops at intervals, stirring gently. Continue this process until the milk curdles and forms a grainy texture. The milk will considerably and form a rich cream.
Add Sugar
Once the milk has and formed a grainy texture, add 1 cup of sugar (250ml measurement) and stir until it completely dissolves. The mixture will become slightly diluted.
Reduce and Thicken
Continue cooking the mixture, stirring frequently, until all the excess moisture and water evaporate and the mixture thickens considerably. The milk should become very nice and grainy.
Add More Sugar and Ghee
Add another 1/2 cup of sugar and stir it in. Then, add 1 heaped tablespoon of ghee and mix it into the mixture. Continue cooking on high flame, stirring constantly.
Achieve Caramel Color
Once all the excess moisture has evaporated, add another 1 tablespoon of ghee. This is a crucial step; keep mixing continuously until the mixture gradually changes to a beautiful mild caramel color. Do not make it too dark. Once the desired color is achieved, turn off the stove.
Set the Milk Cake
Transfer the hot milk mixture into a tin lined with butter paper (or greased with ghee). Spread it out evenly and press it on all sides to make it uniform. Dab a little ghee on top, then cover the tin with another sheet of butter paper and gently press.
Insulate and Rest
Wrap the tin in a kitchen towel, then wrap it again in a mat to retain heat and keep it insulated. Let the milk cake set in a warm place for about (or as per on-screen text).
Cut and Serve
After , unwrap the tin and gently remove the set milk cake. Remove the butter paper from the top and sides. Trim a little bit off the ends to get even-sized pieces. Mark and gently cut the milk cake into desired square or rectangular pieces. Serve this rich and delicious milk cake.
Before You Cook
Helpful details before you startIngredient SubstitutionsMissing something? View suitable alternatives.View 3 swaps
No Milk?
- Unsweetened almond / soy / oat milk (1:1)
- 1/2 cup evaporated milk + 1/2 cup water (per 1 cup)
No Lemon juice?
- Lime juice (1:1)
- 1/2 the amount white vinegar — In dressings, savory dishes.
No Ghee?
- Unsalted butter (1:1)
- Neutral oil (1:1, lacks the toasted note)
Helpful Tips
Small details that can improve the final result.
More from HomeCookingShow
Other recipes converted from HomeCookingShow's cooking videos.

Palak Paneer with a Twist
Cuisine
Indian · North Indian
Prep + Cook Time
35 Minutes
Difficulty Level
Medium
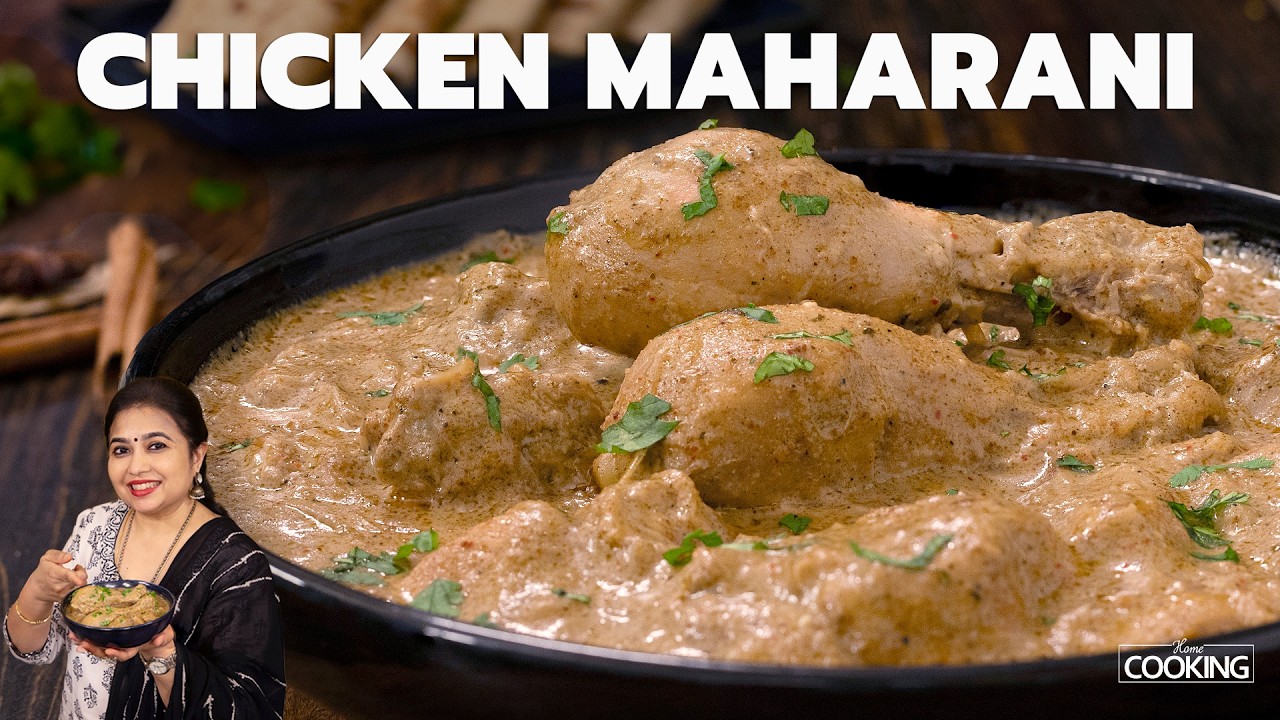
Chicken Maharani - Mughlai Style
Cuisine
Indian · North Indian
Prep + Cook Time
55 Minutes
Difficulty Level
Medium

Guntur Chicken Masala – Home Cooking
Cuisine
Indian · South Indian
Prep + Cook Time
1 hr 10 min
Difficulty Level
Medium
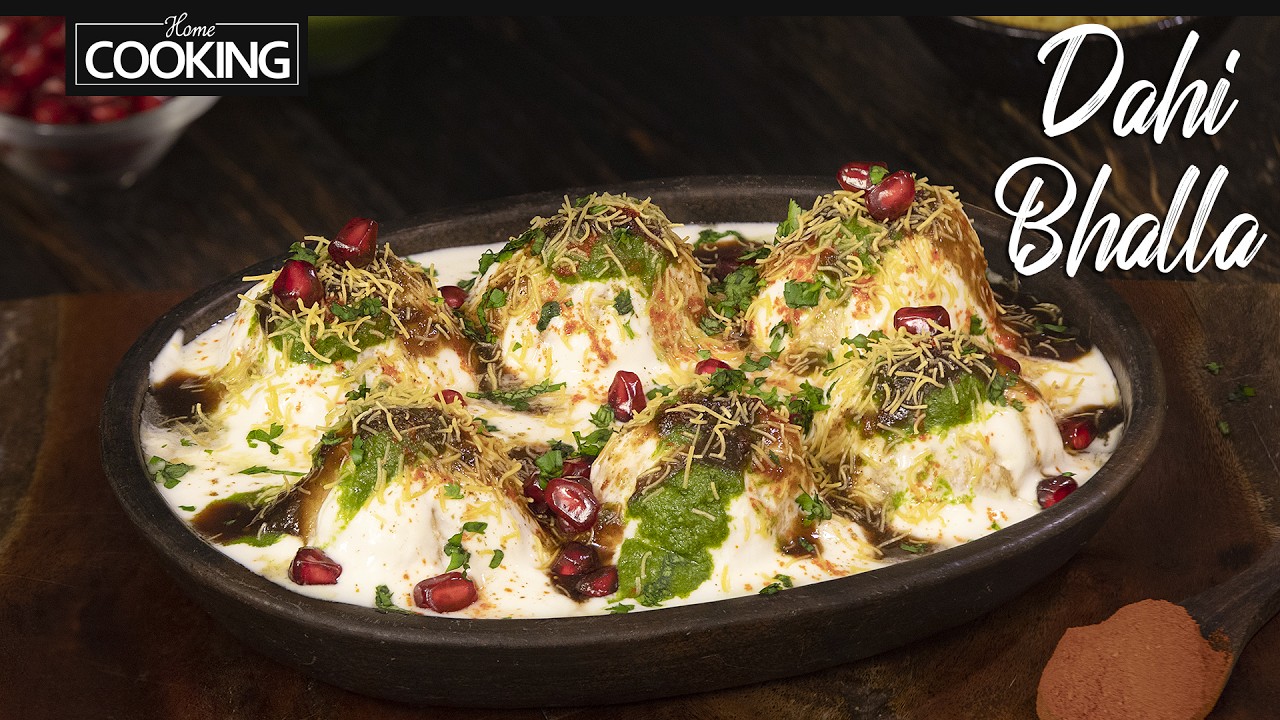
Dahi Bhalla – Indian Street Food
Cuisine
Indian · North Indian
Prep + Cook Time
4 hr 30 min
Difficulty Level
Medium

Matar Pulao – Home Cooking
Cuisine
Indian · North Indian
Prep + Cook Time
35 Minutes
Difficulty Level
Easy

Pav Bhaji – Indian Street Food
Cuisine
Indian · Maharashtrian
Prep + Cook Time
1 hr 5 min
Difficulty Level
Medium
You might also like
Other recipes in the same cuisine, meal type, or style — ready to cook whenever you are.
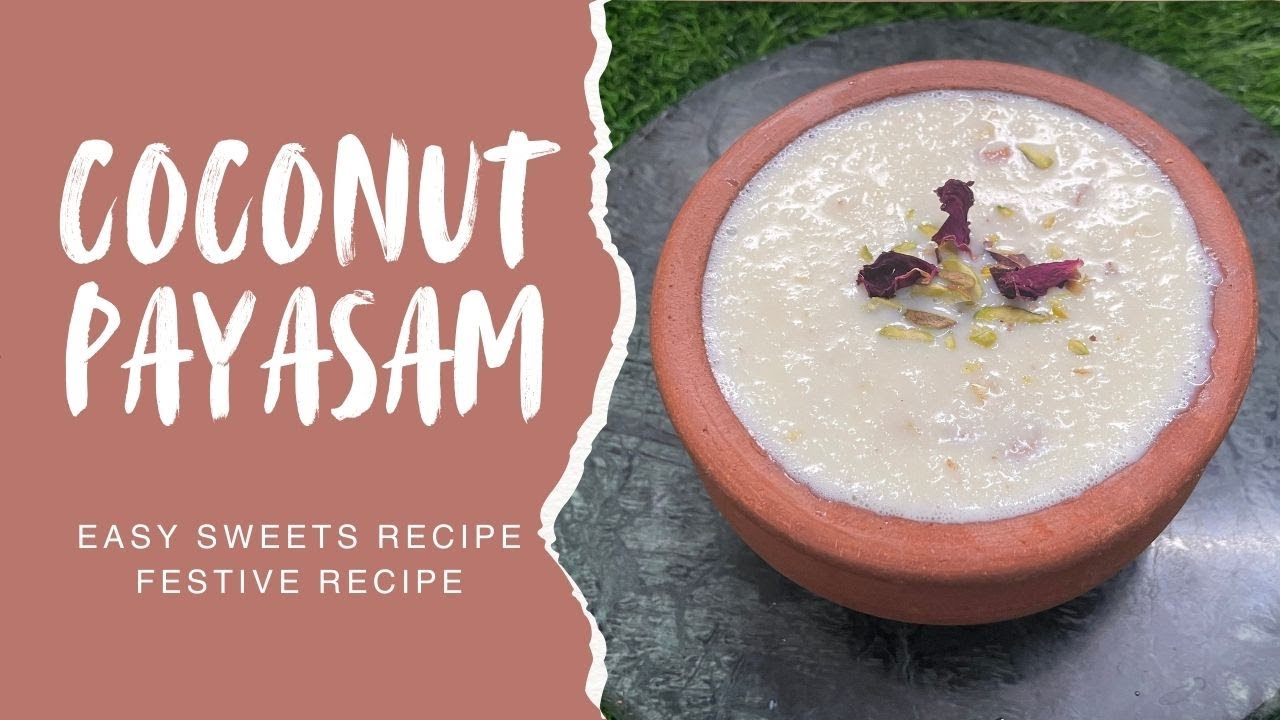
Coconut Payasam – Traditional Indian Dessert
Cuisine
Indian · South Indian
Prep + Cook Time
20 Minutes
Difficulty Level
Easy
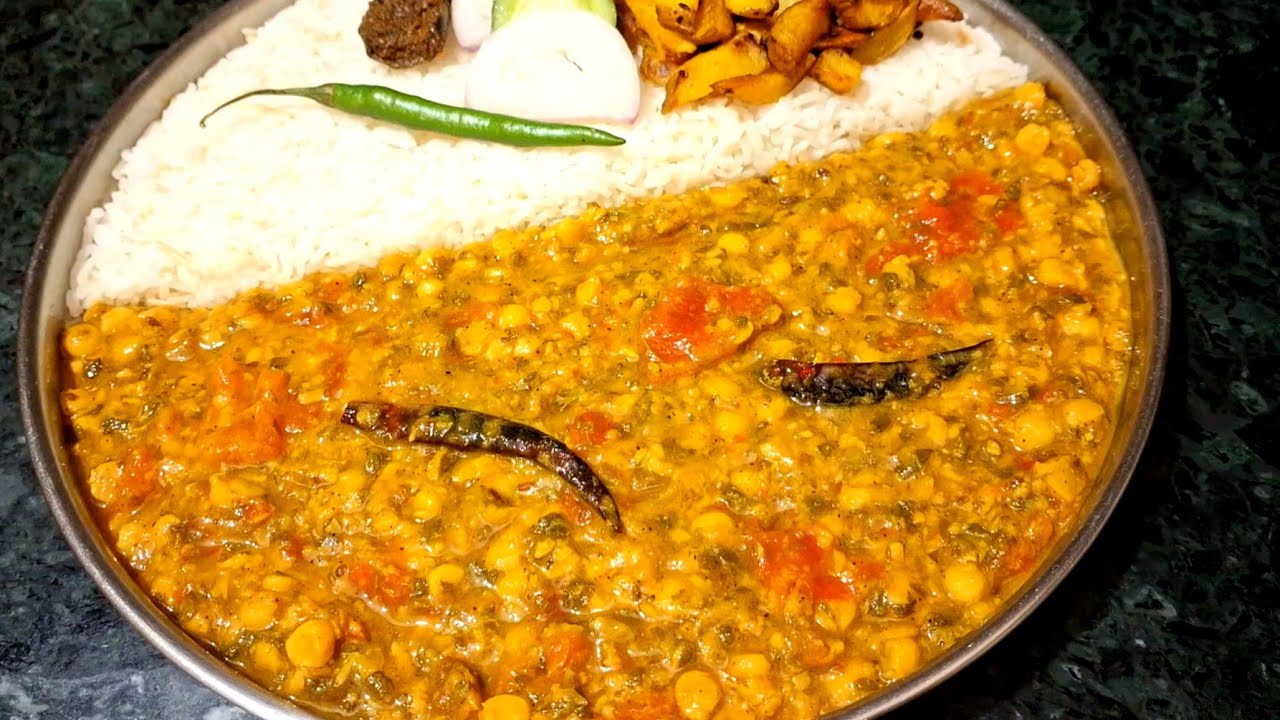
Chana Dal with Moringa Leaves – Healthy & Delicious
Cuisine
Indian · North Indian
Prep + Cook Time
40 Minutes
Difficulty Level
Easy

Temple Style Puliyodharai
Cuisine
Indian · South Indian
Prep + Cook Time
45 Minutes
Difficulty Level
Medium
Mushroom Biryani - Indian Recipes Tamil
Cuisine
Indian · South Indian
Prep + Cook Time
45 Minutes
Difficulty Level
Medium
One-Pot Rasam Sadham
Cuisine
Indian · South Indian
Prep + Cook Time
30 Minutes
Difficulty Level
Easy

Perfect Chapatti / Roti
Cuisine
Indian · South Asian
Prep + Cook Time
47 Minutes
Difficulty Level
Comments (0)
Sign in to leave a comment on this recipe.
Loading comments...